Danny’s Wildlife Photography Tips and Tricks Volume 3
on Dec 06, 2022Welcome back to another edition of Danny’s Wildlife Photography Tips and Tricks. This week we will be looking more into compositions and techniques - how to position your subjects in the best way.
Everyone can pick a camera and start shooting what they see, but the aim of photography is to tell your viewers a story. This can be done by composition. There are a lot of different types of composition, and you just have to find the ones that work best for you and your photography style. We will look into a few of these compositions.
The Rule of Thirds
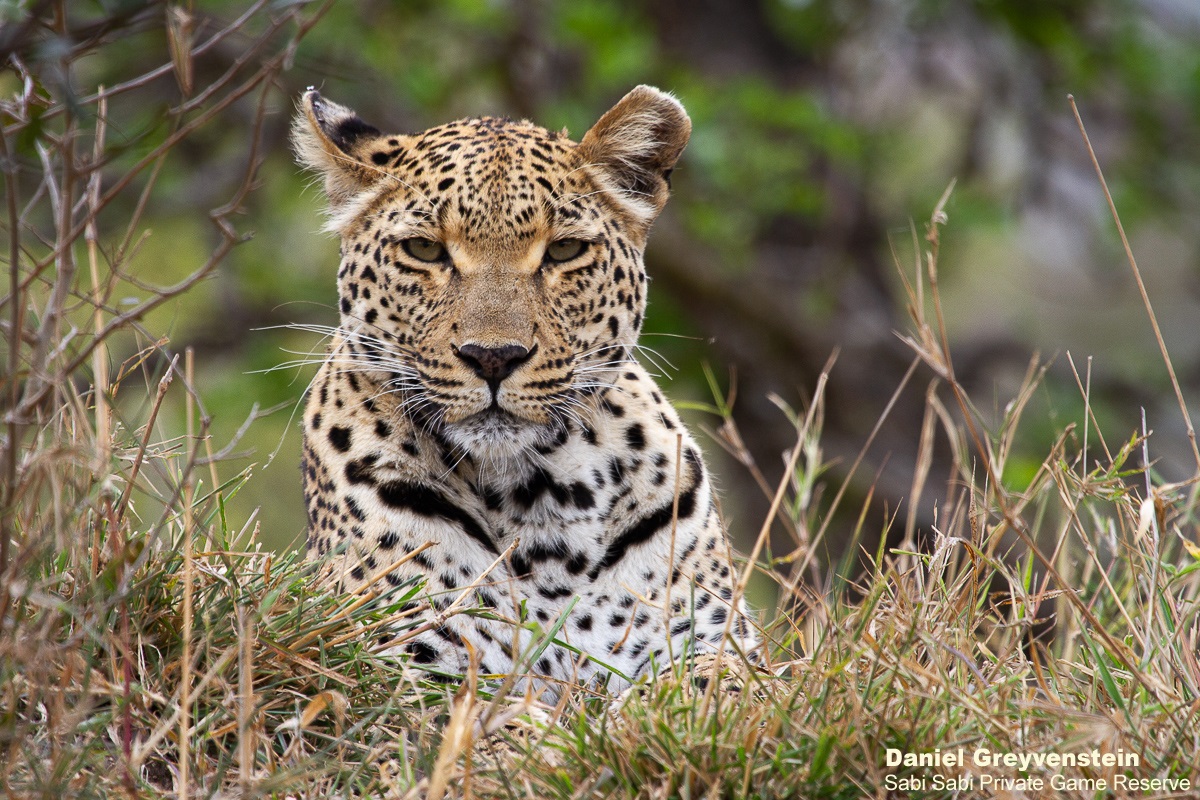
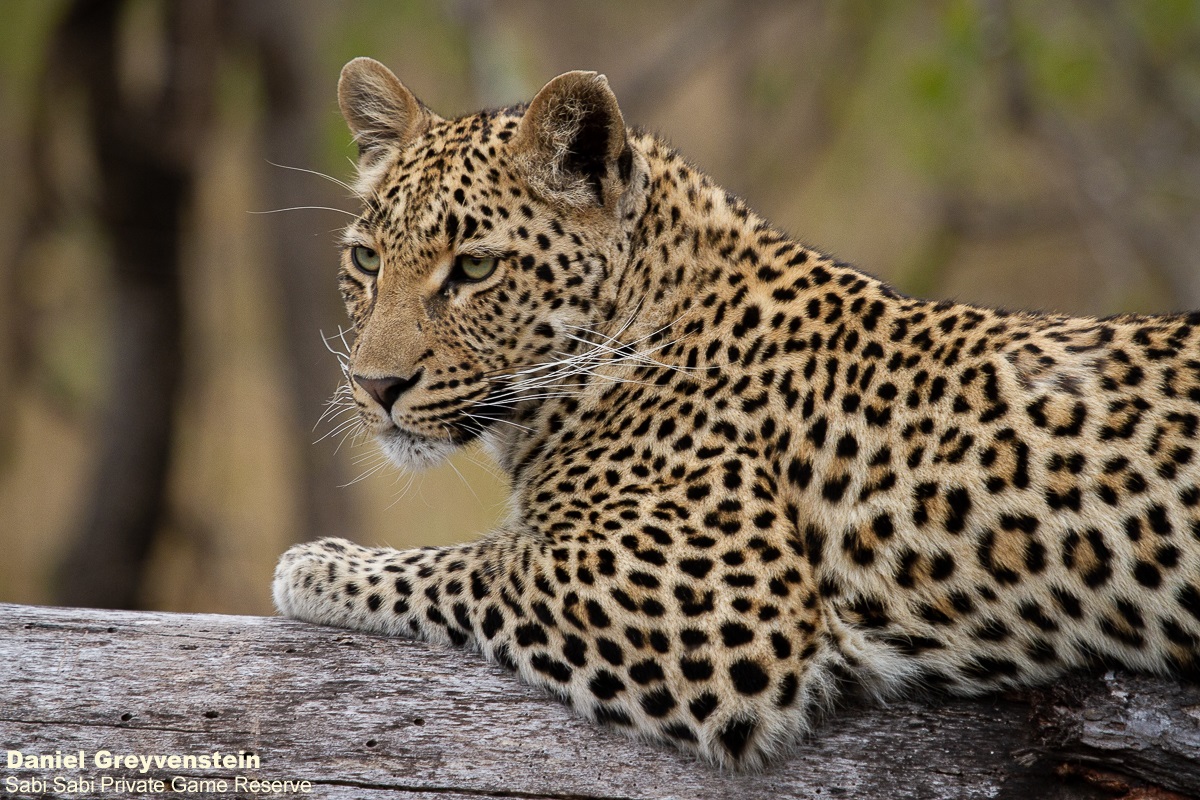
This is one of the most used compositions in photography. Imagine that you are dissecting your image vertically and horizontally into 9 equal segments. The Rule of Thirds suggests that you should put your most important subject where these lines intersect each other. Many digital cameras come with the option to divide your viewfinder or screen into thirds to make the composition easier for you. For wildlife photography, try to place the eye of the animal on one of the four “power points” from the gridline intersection.
Leading Lines
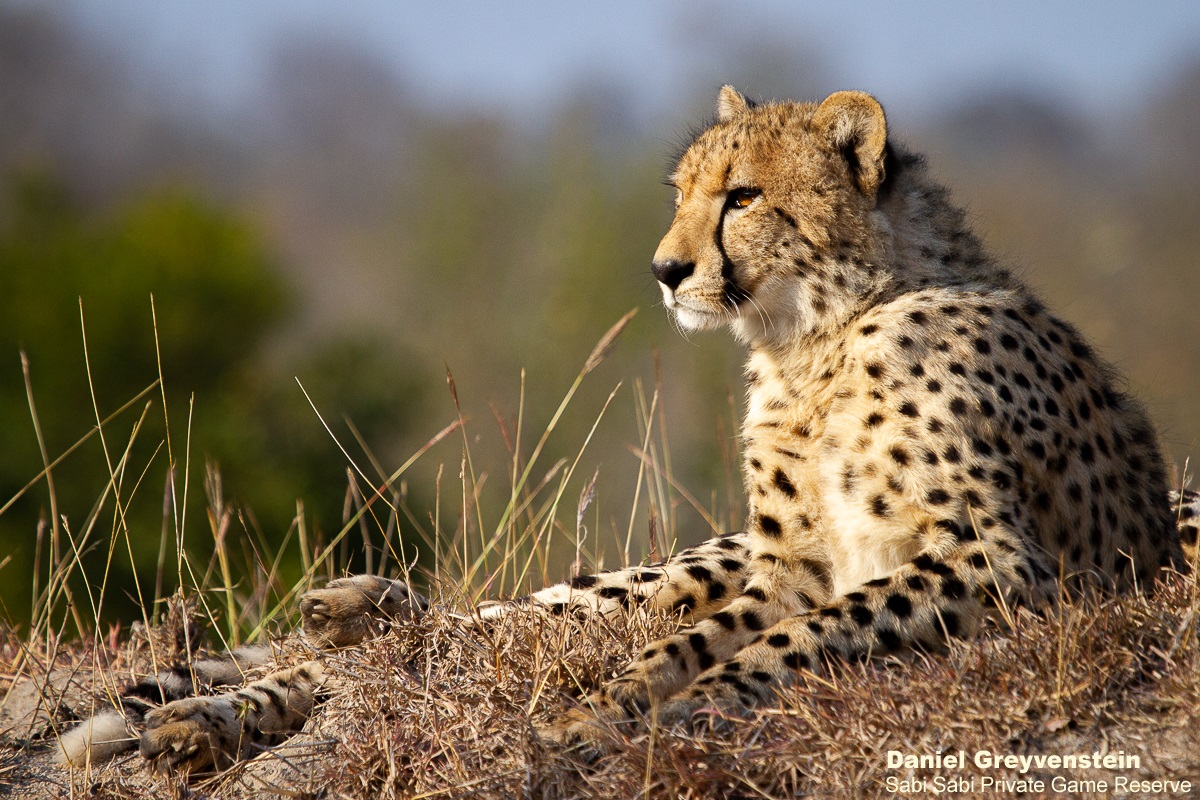
Leading lines refer to lines that lead the viewer’s eye to the subject, or a part of the composition. These lines usually start at the bottom of the frame and lead the viewer’s eye upward. Leading lines can be anything from rivers, logs, tree branches, roads, etc. Using leading lines, you can lead the viewer to where you want them to look and make them avoid areas that you want to be avoided. It can also create a flow in your photograph, keeping your viewer engaged. The correct use of this composition is a great way of indicating depth in a photo, which helps a lot in landscape photography.
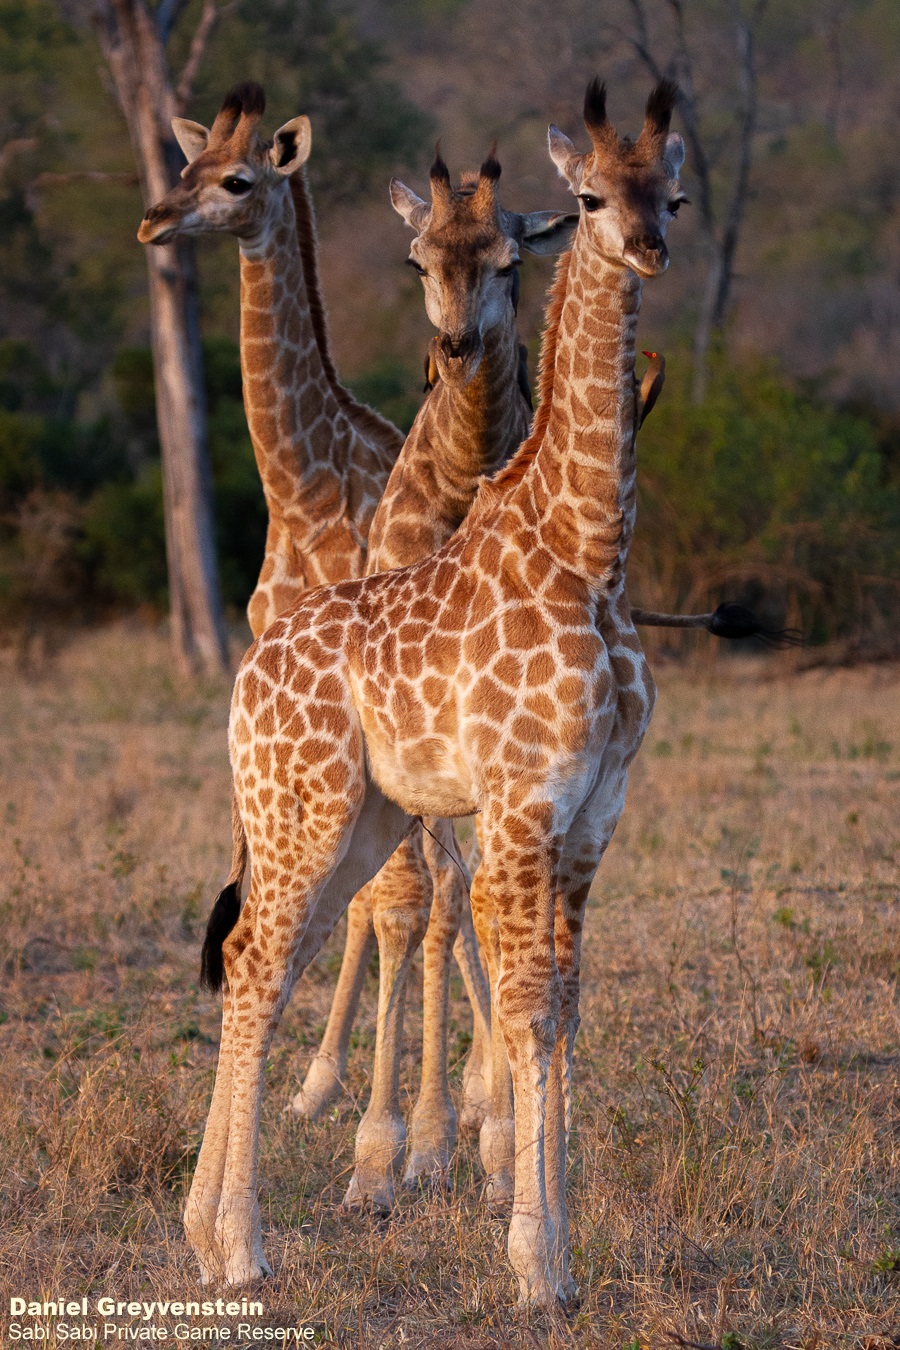
Framing
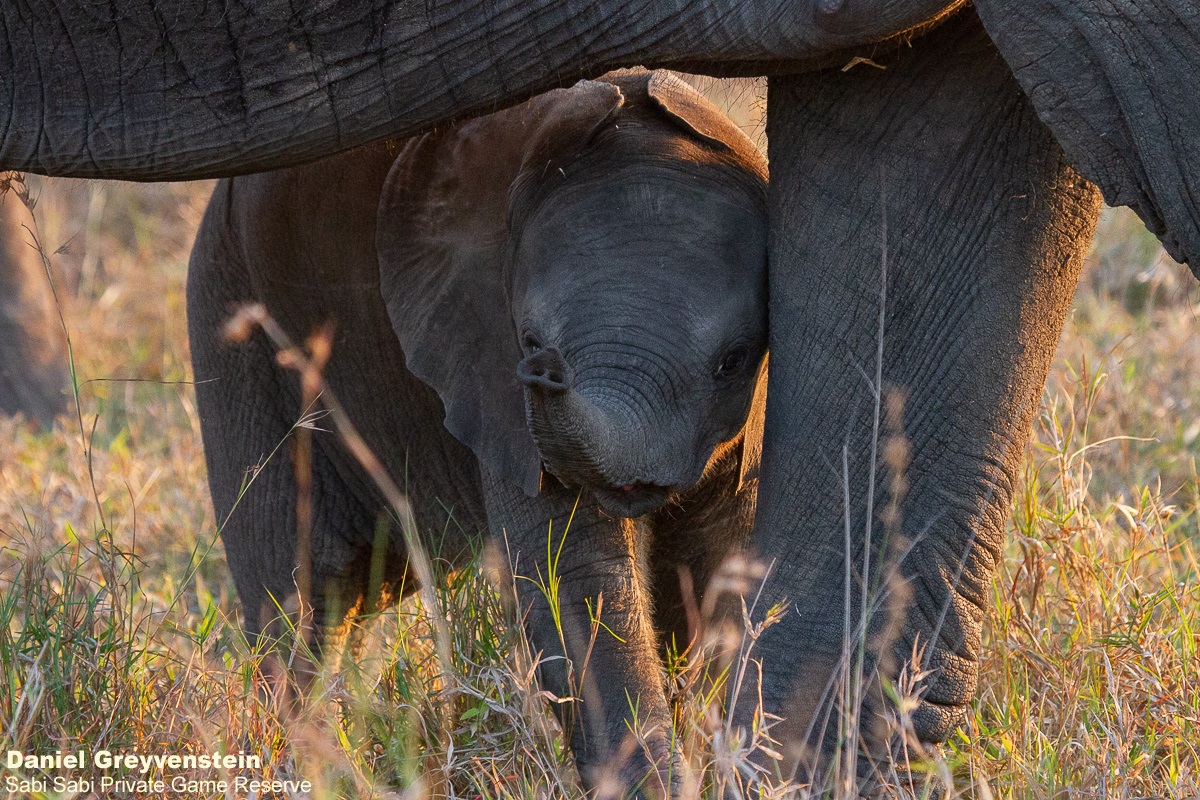
This is not referring to framing your beautiful shot after your Sabi Sabi vacation, but rather a technique of drawing attention to the subject in your image. Framing in wildlife photography can be something like overhanging branches, capturing an elephant calf that perfectly fits under mom’s belly, a leopard hiding away in branches of a Marula tree, a warthog peeking out of a termite mound, etc. The opportunities are endless! The frame doesn’t need to go all around the frame of the photograph, it can be just on one or two edges, like top and bottom, or on the two sides.
Something to take into consideration when framing your subject is if the frame is going to take away from the photo and make it feel cramped or if is it going to make an ordinary photo into a stunning photo.
The last technique you can use when framing your subject is to decide if you want the frame to be in focus or not. A blurred frame can add to the mood of a photo, but an in-focus shot will add more context to the scene. Refer back to Danny’s Wildlife Photography Tips and Tricks Vol. 1 to learn more about the depth of field.
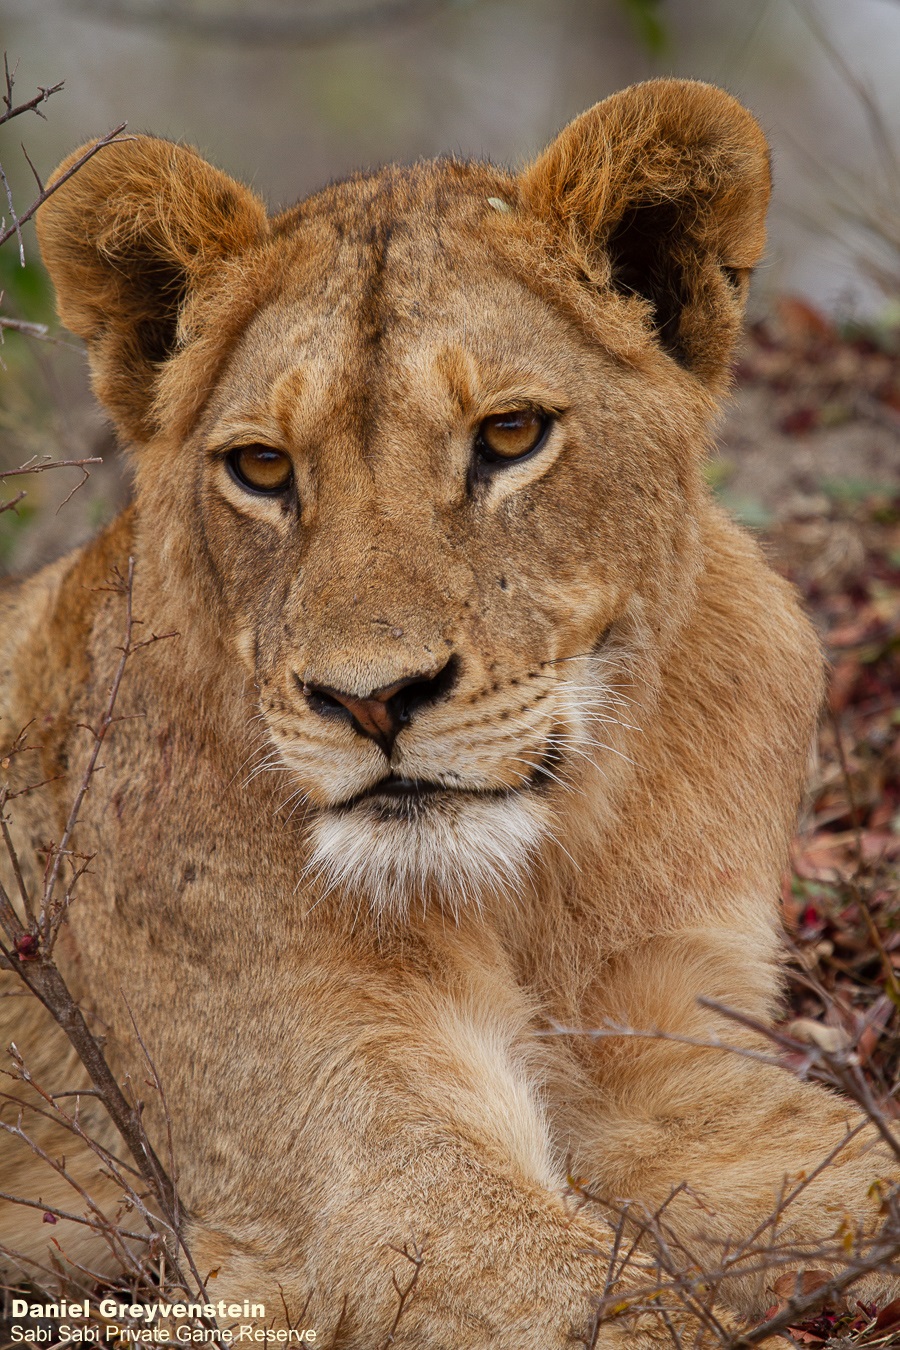
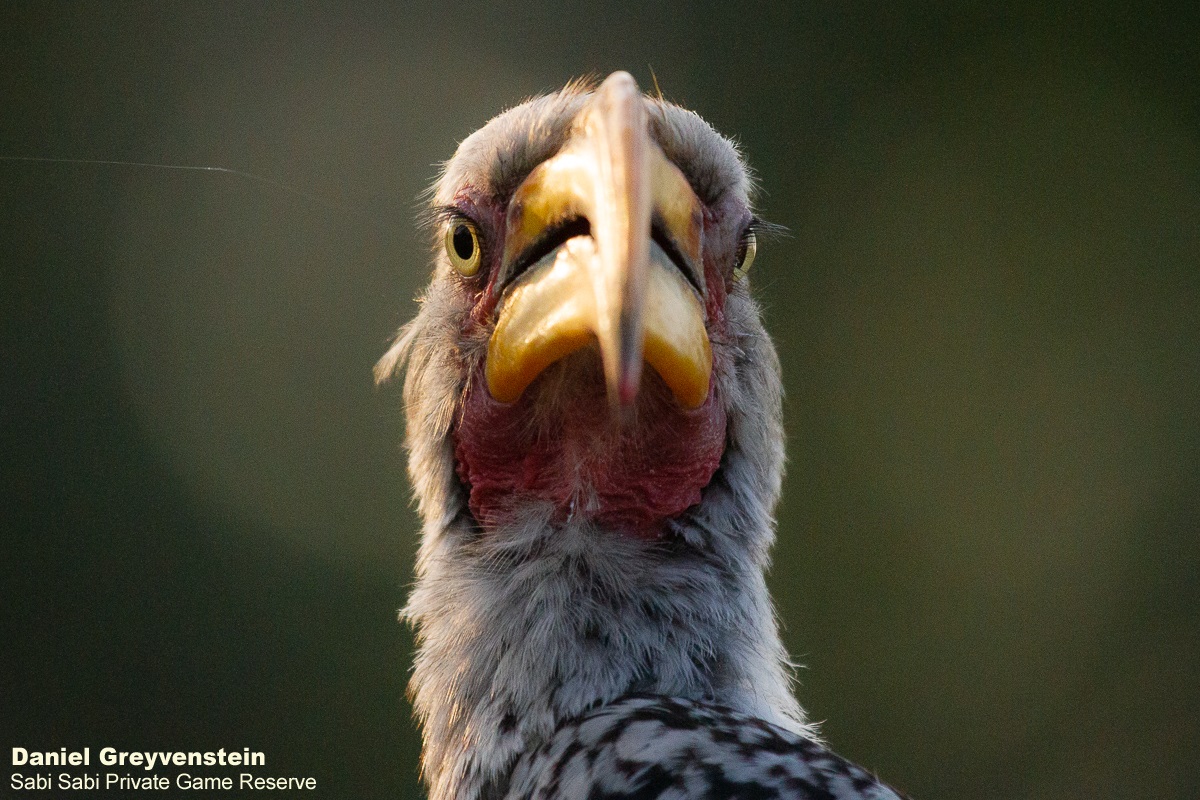
Fill the Frame
This composition is very useful if you are doing portrait wildlife photography. If you have a big zoom lens, use it! But, being said, always remember to zoom out as well, but we will cover that later on.
This is one of the simplest compositions to master. There are a few ways how you can achieve this composition, but we will have a quick look at three ways:
Use your optical Zoom
Technology these days gives us amazing opportunities to get really close to wildlife without getting close to the wildlife. You paid a lot of money to have a big zoom lens, so don’t be afraid to use it! Try different shots, zooming in on their eye to get a reflection in the eye, fill the frame with a big male lion looking straight at you, etc.
Use your legs
This is a little bit more difficult to use in wildlife photography because you can’t exactly walk up to a pride of lions. But you can get closer using your vehicle, respecting the comfort zones of the wildlife, or have a walk around in a safe area like the lodge/camp.
Crop your shots
This is a very handy tool to use, but I prefer to use the first two options. Cropping a photo too much can cause the photo to become pixelated but is excellent if you just want to trim your photo.
Zoom Out
We investigated filling up the frame, now do the complete opposite and zoom out! Take in the landscape around the wildlife, this will help to tell the story of the photograph better. A trick that I often use is to shoot on different focal lengths (100mm, 200mm, 300mm, 400mm). Do this for both landscape and portrait shots.
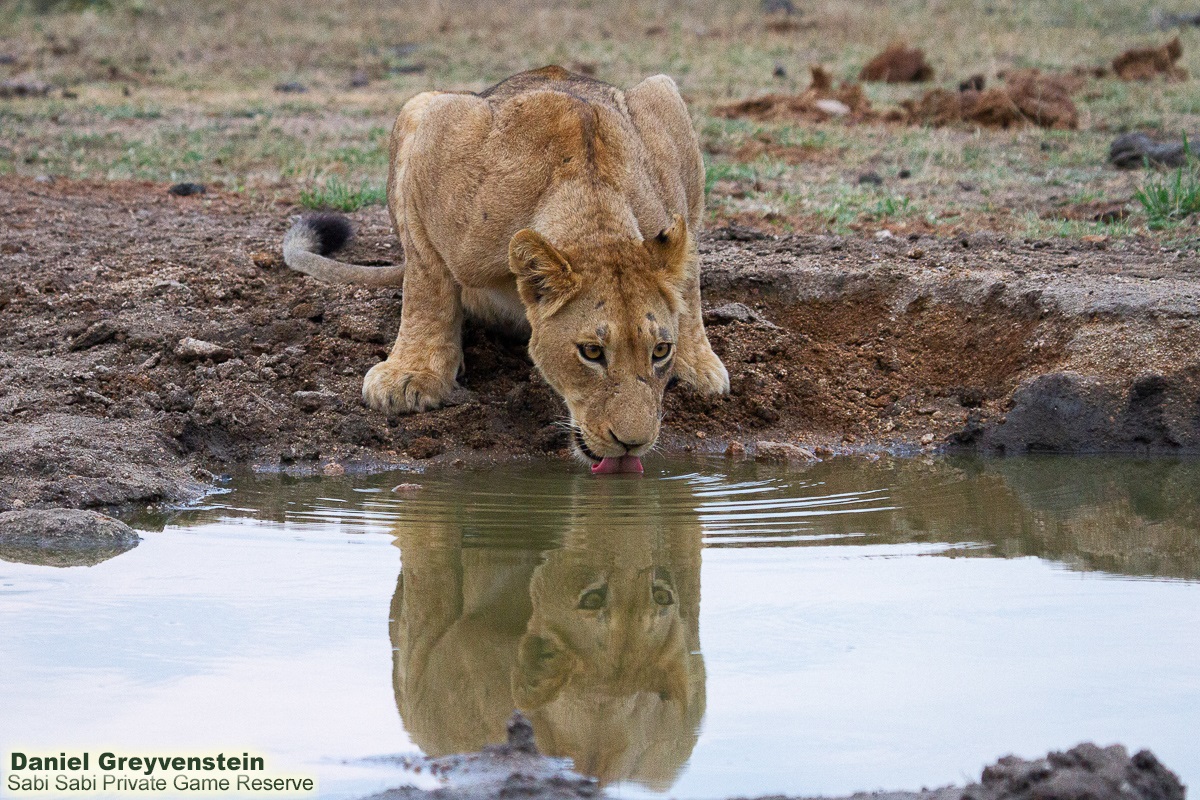
Symmetry
Sometimes you have to go against all the rules of photography and put the subject slap-bang right in the middle of your photo. It all depends on the feeling that you want to create with your image and the message you want it to portray.
I can’t wait for you to join me on safari to try out all these compositions. Next time we will look into the editing process.
Keep on shooting!
Danny's Wildlife Photography Tips and Tricks Series:
Vol. 1: Settings and Modes
Vol. 2: More on Focus Settings, Modes and Points.

