Danny’s Wildlife Photography Tips and Tricks Volume 2
on Nov 01, 2022Welcome back, everyone! For this blog, we will concentrate more on focus settings, modes and points.
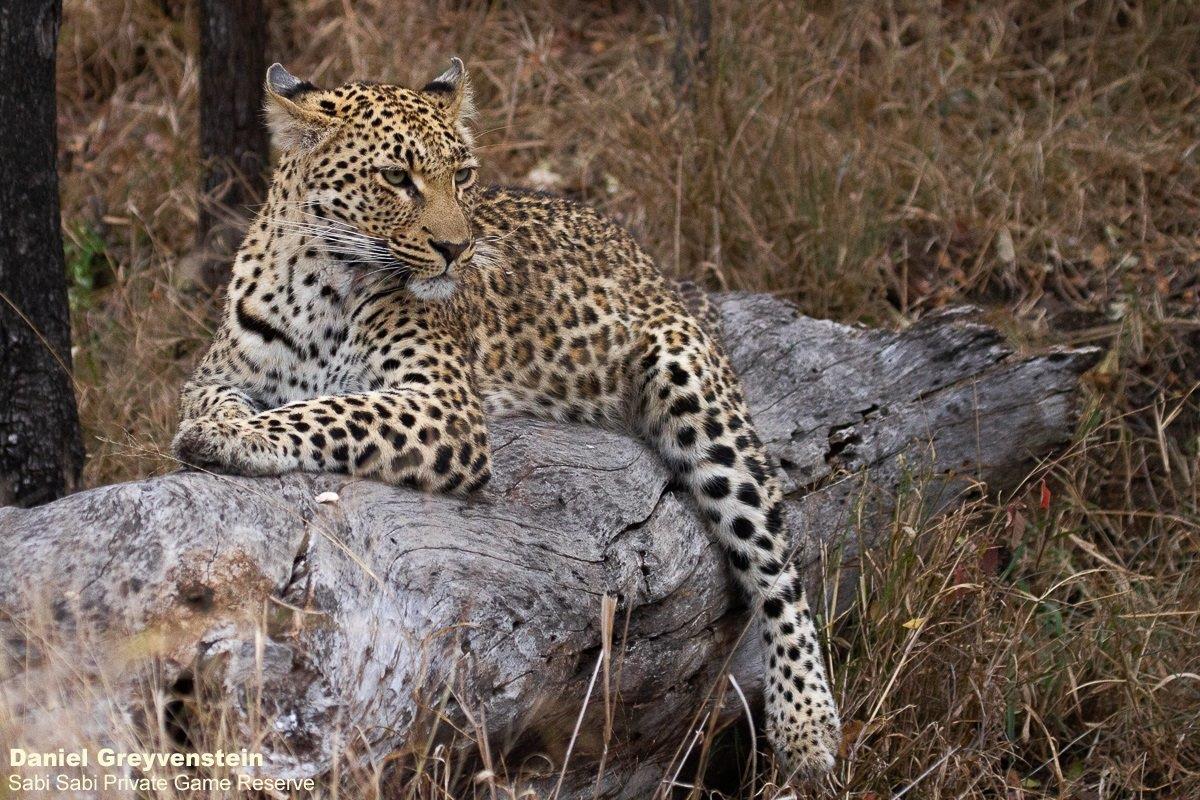
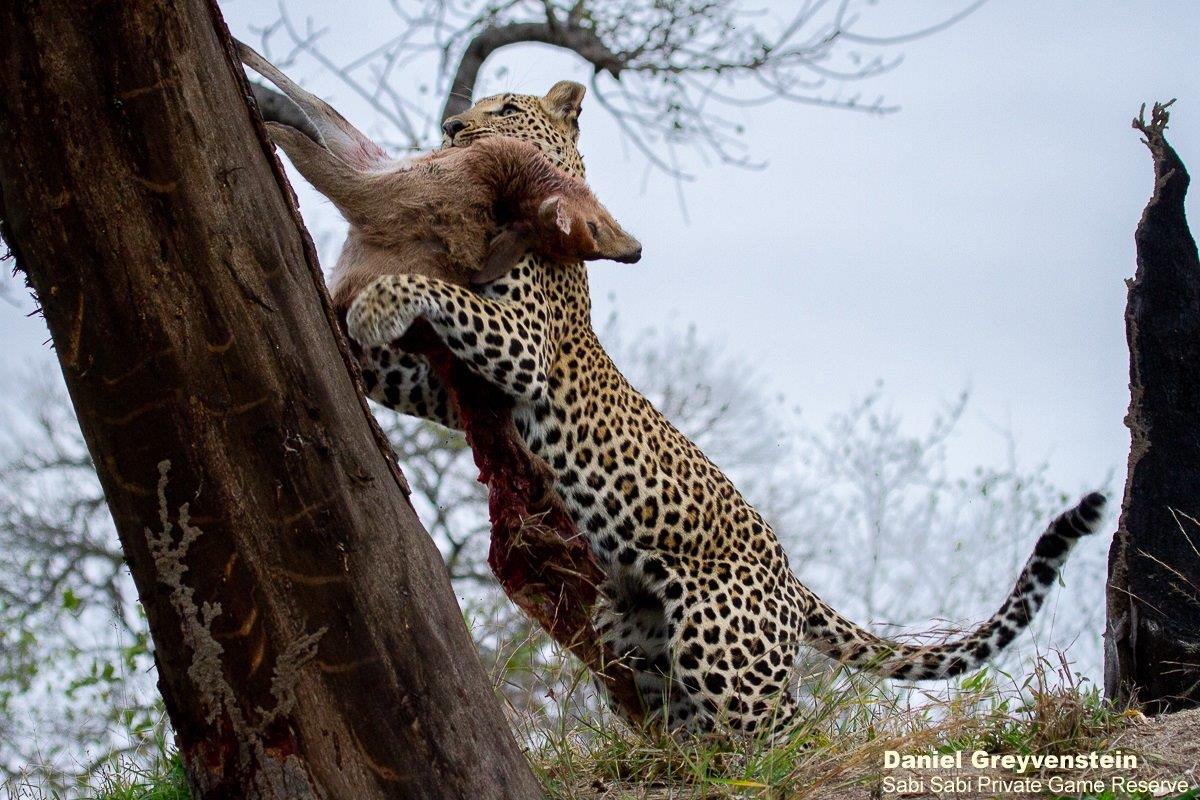
The first, and most important, two settings we are going to look at are the difference between manual and autofocus. It is necessary that you know how to use both focus settings, as a situation can change extremely fast in the bush. One moment you are photographing a female leopard in a tree, and the next moment she is on the ground busy hunting impala. While she is static, behind some leaves of the tree, it might be easier to use manual focus, but when she is hunting and moving all the time, it is better to switch to autofocus so that you don’t miss the perfect shot!
But let’s dive deeper into it!
Manual Focus
The name says it all. This is where you would manually focus your camera to get your subject in focus. Although cameras are extremely smart, it can still struggle to focus where you want it to focus. This helps you to get the focus where you want it, also giving you more creative freedom. By focusing manually, you adjust the focus ring of the lens.
Manual focus is extremely helpful when your subject is between a lot of branches, and your camera struggles to find the subject you want in focus (being distracted by leaves and branches). Some photographers use manual focus for landscape, portrait and macro photography. Wildlife photography is a little bit more challenging because the situation can change so quickly. I’d rather rely on my autofocus.
Autofocus
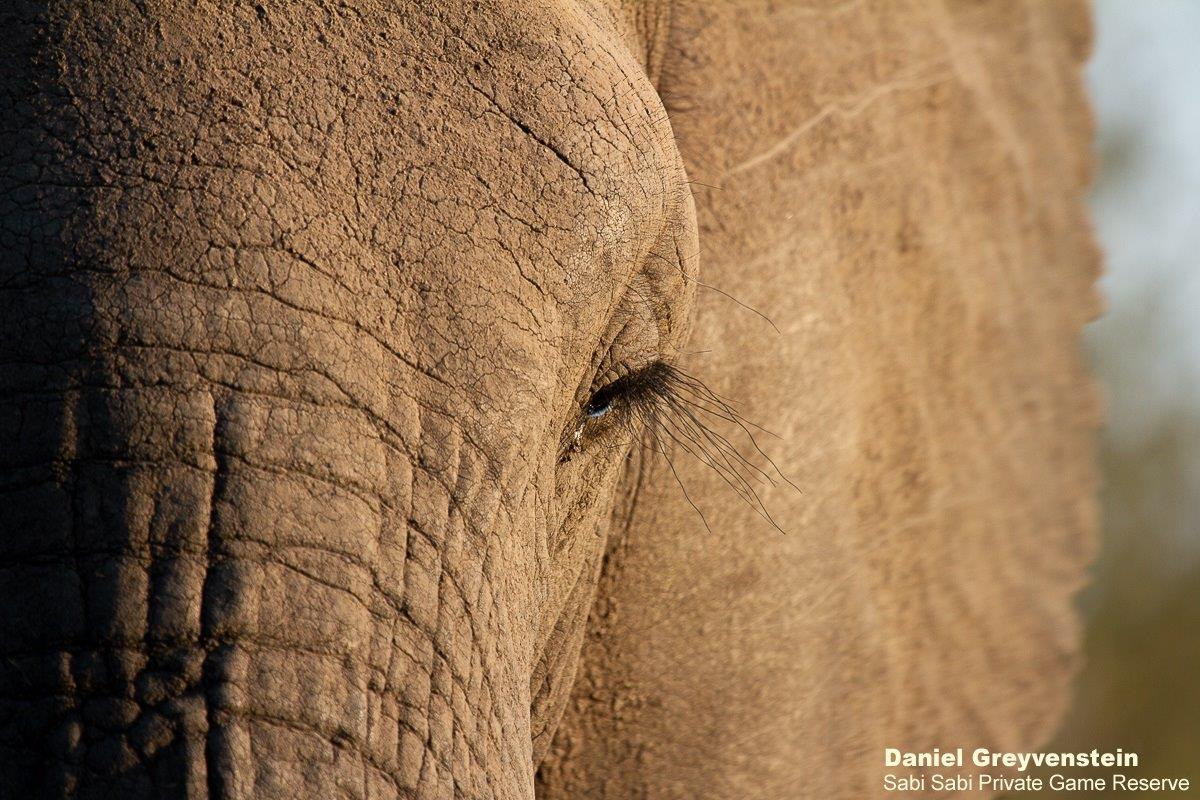
The camera will automatically focus wherever the focusing point is pointing too. Use autofocus in situations where you know you will need to focus constantly. Although using autofocus, will require the right modes for your subject to be as sharp as possible. We will go through a few of the modes that your camera may have to obtain this perfect focus.
Autofocus modes
There are three main autofocus modes that you can use, depending on the type of photography and your subject. These are Single Autofocus mode, Continuous Autofocus mode and Hybrid Autofocus mode. These modes will tell your camera how to focus. Note: Not all cameras will have all of these modes, it depends on what camera and model you have.
Single Autofocus Mode
Canon: One-Shot AF
Nikon: AF-S Mode
Sony: Single-shot AF
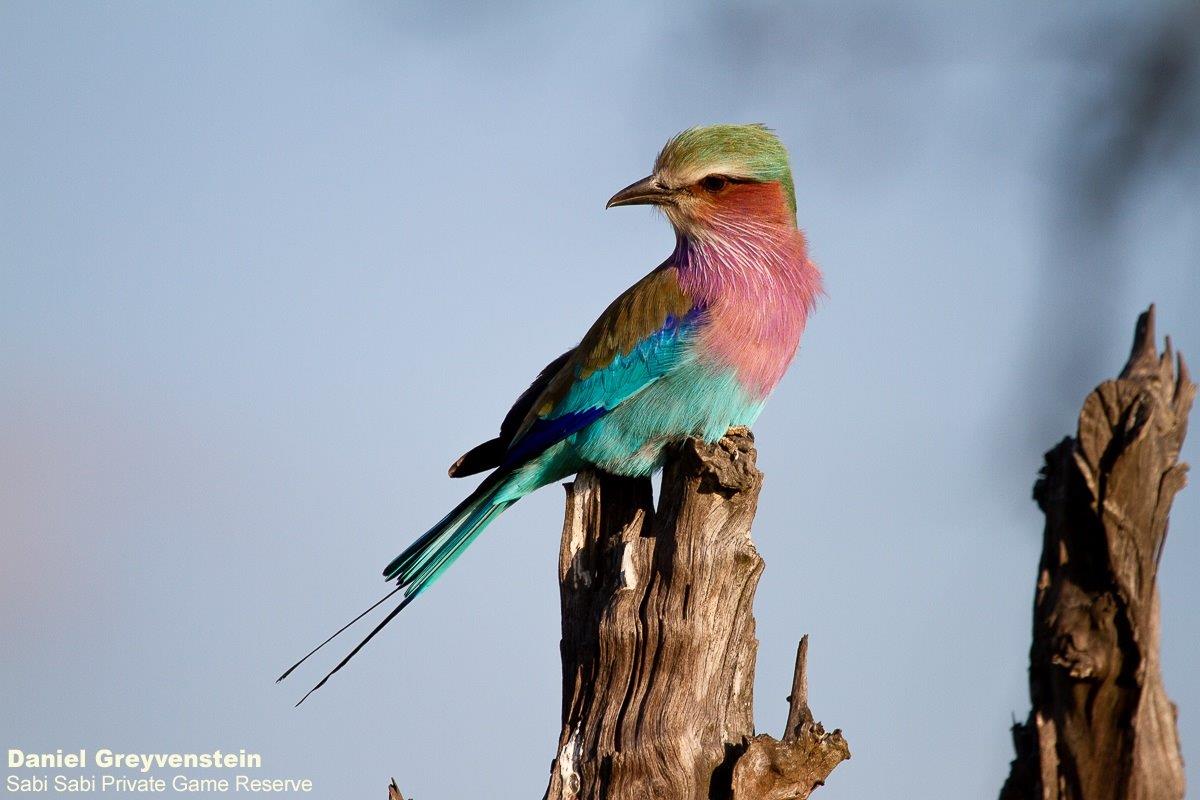
This is the most basic mode that you can use. When focusing on a subject your camera will lock focus on the subject that you want to photograph. When your subject starts moving, your camera won’t adjust the focus to keep the subject sharp, and you have to re-focus again. This mode is mostly used for static subjects, such as portraits, macro and landscapes. When taking long exposure shots, like star trails, this would also be a good mode to use. When your subject is moving and you are using this mode, lightly press down on your shutter, or your programmed focus button, again, to keep your subject sharp.
Continuous Autofocus Mode
Canon: AI Servo AF
Nikon: AF-C Mode
Sony: Continuous AF
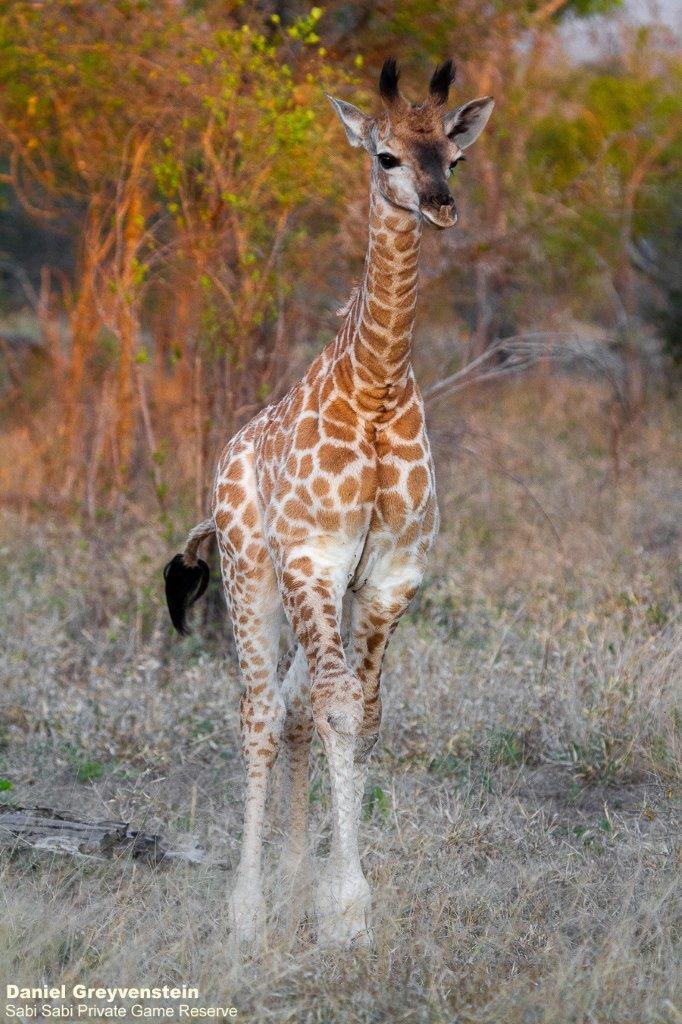
This is the best mode for moving subjects. Once you have your subject in focus your camera will continue to keep the subject in focus when they move around (if the subject stays in the frame of the camera). Although this mode might be perfect to use for wildlife photography, it can let you down sometimes (technology is unfortunately not that perfect!) It all depends on the movement of your subject, depth of field, focusing speed of your lens and light conditions. All of these factors can cause your photo to be blurry.
Hybrid Autofocus Mode
Canon: AI Focus AF
Nikon: AF-A Mode
Sony: Continuous AF
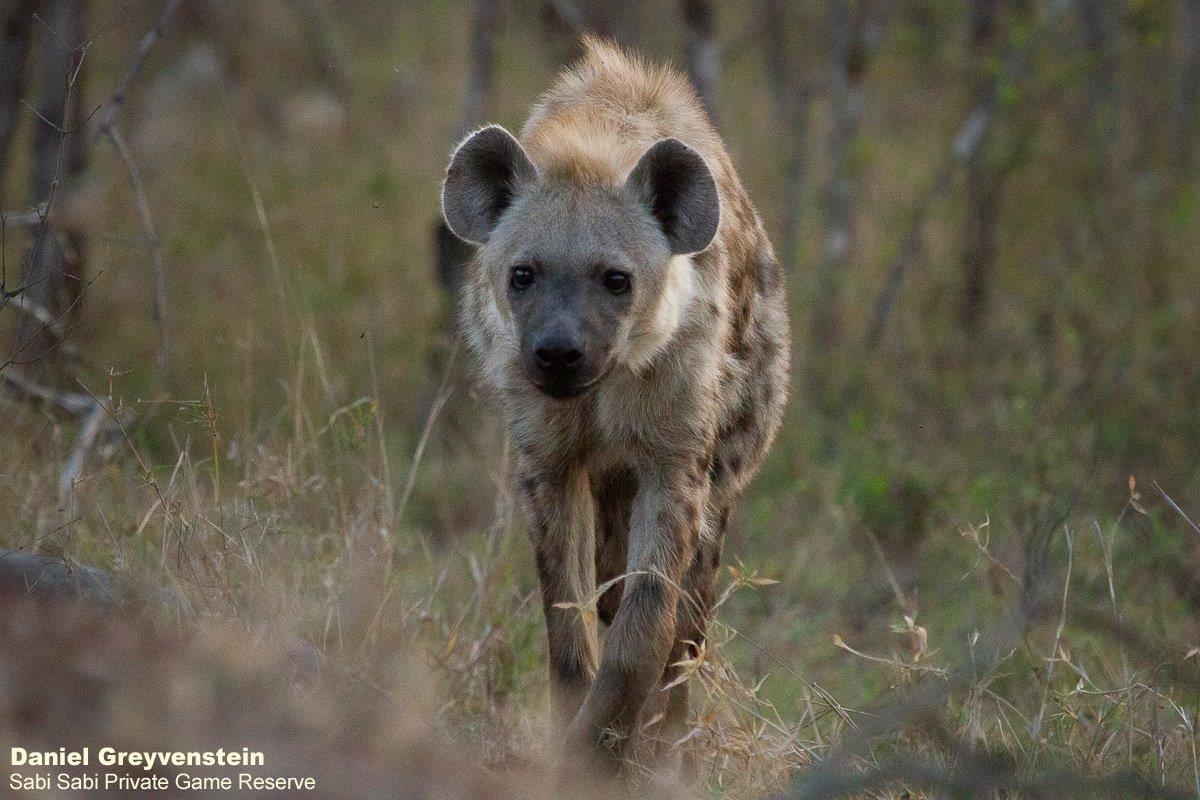
This mode is a mixture between Single and Continuous Autofocus modes. When using this mode, your camera detects when your subject moves. It will switch from Single Autofocus mode to Continuous Autofocus mode to track the subject. If the subject is static again, your camera will switch back to Single Autofocus mode. This is a good mode to use when photographing challenging subjects such as wildlife, when the subject can move suddenly.
Now that we have all the modes under control, we can move on to Autofocus (AF) Area Modes. These modes help the camera to find where it should focus. You just need to know which focus point to use. The main types of Autofocus Area modes are the following:
Single-point AF area mode
Dynamic AF area mode
Group AF area mode
Auto AF area mode
Eye AF mode
Single-point AF area mode
Canon: Manual AF Point
Nikon: Single-Point AF
Sony: Center/Flexible Spot
This mode allows you to select a focus point for a static subject. It works best when you are using AF-C (Continuous Autofocus mode), this combination will allow the camera to automatically adjust focus to keep the image sharp. Most camera models will have a few points that you can select where the camera will focus. The more advanced the camera, the more focusing points you can select from.
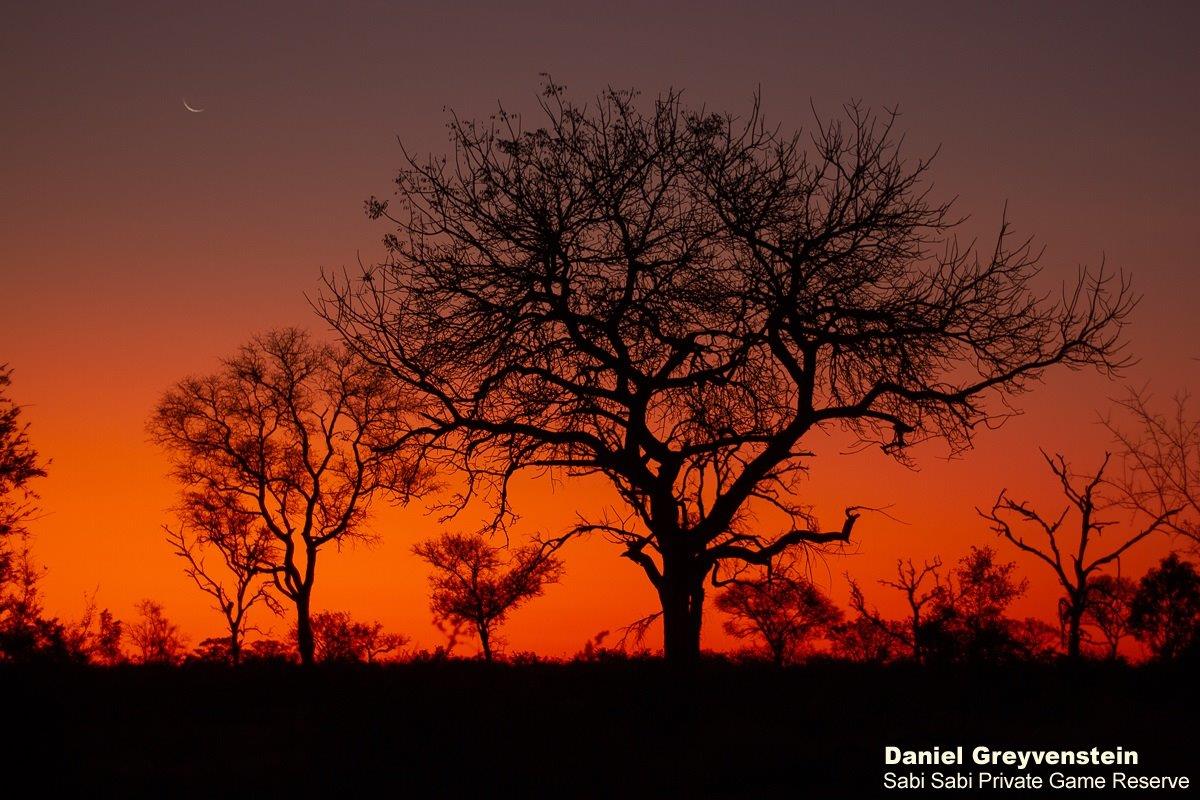
This is the best area mode to use for still subjects, like landscape photography.
Dynamic AF Area mode
Canon: AF Point Expansion
Nikon: Dynamic AF area
Sony: Lock-on: Flexible spot
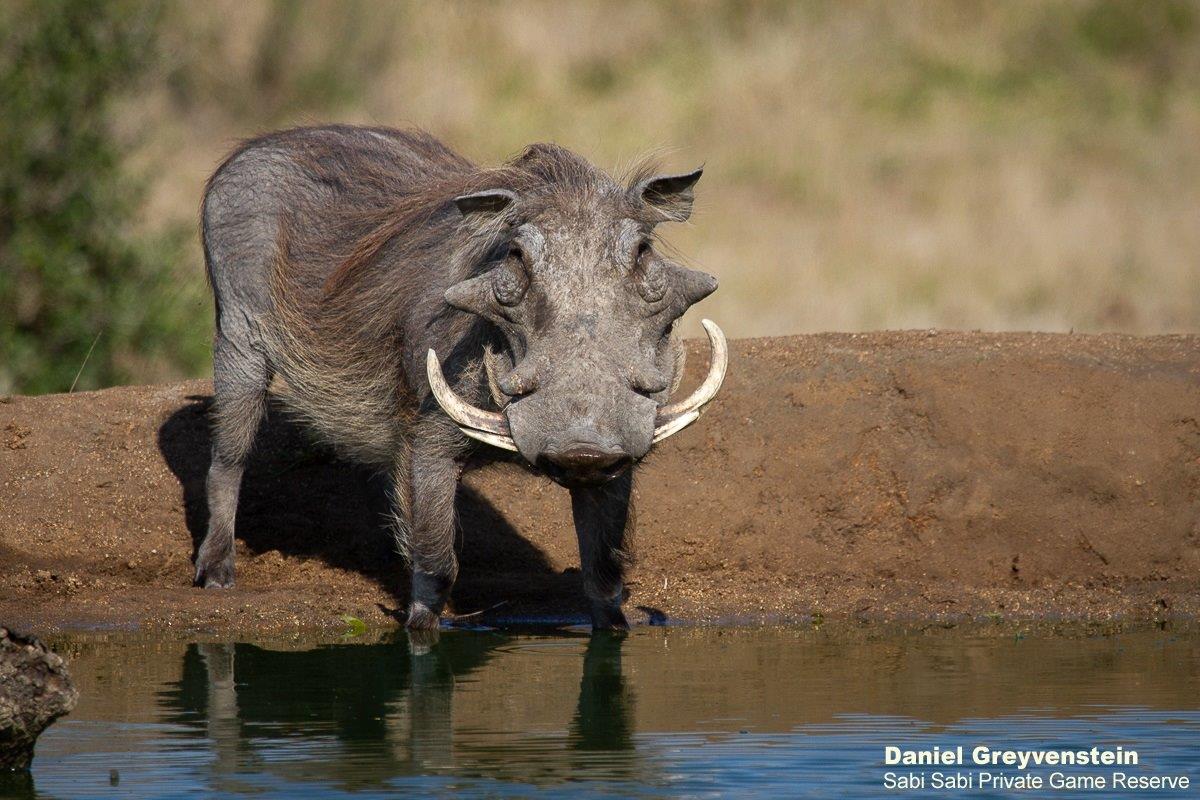
Using this mode, after you have selected a focus point, your camera will use this focus point as well as the surrounding focus points to keep the subject sharp when it moves. All you must do is keep your focus button pressed down. Most cameras have groups of focus points like 9, 21, 51, etc. Dynamic AF Area mode is best for moving subjects.
Group AF Area mode
Canon: Zone AF
Nikon: Group AF area
Sony: Zone
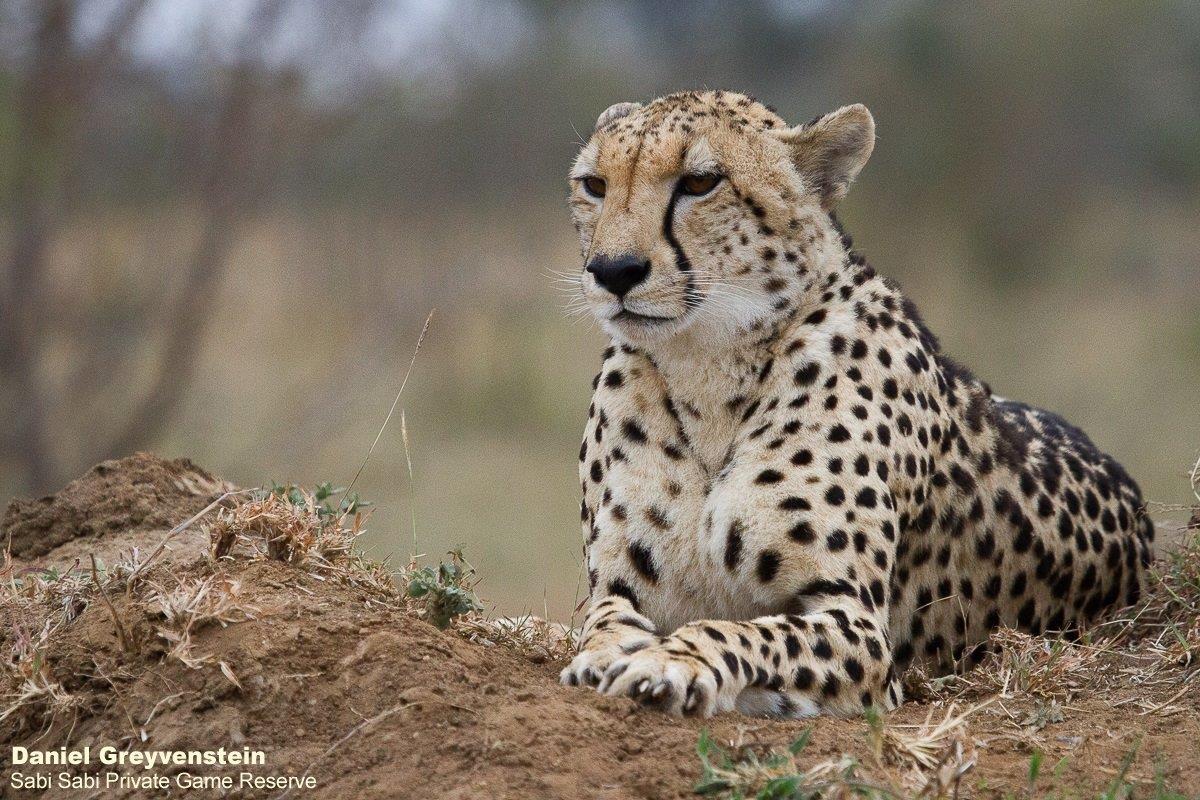
This mode allows you to select your desired focus area, rather than just one point. In other words, your camera will focus on a group of points, and not just one point. This is a good mode to use for wildlife photography. It ensures the autofocus accuracy, but one focus point isn’t enough for your subject. For instance, you don’t want just one little area to be sharp, rather a bigger area of the subject.
Auto AF Area Mode
Canon: Auto AF Area
Nikon: Auto AF Area mode
Sony: Wide
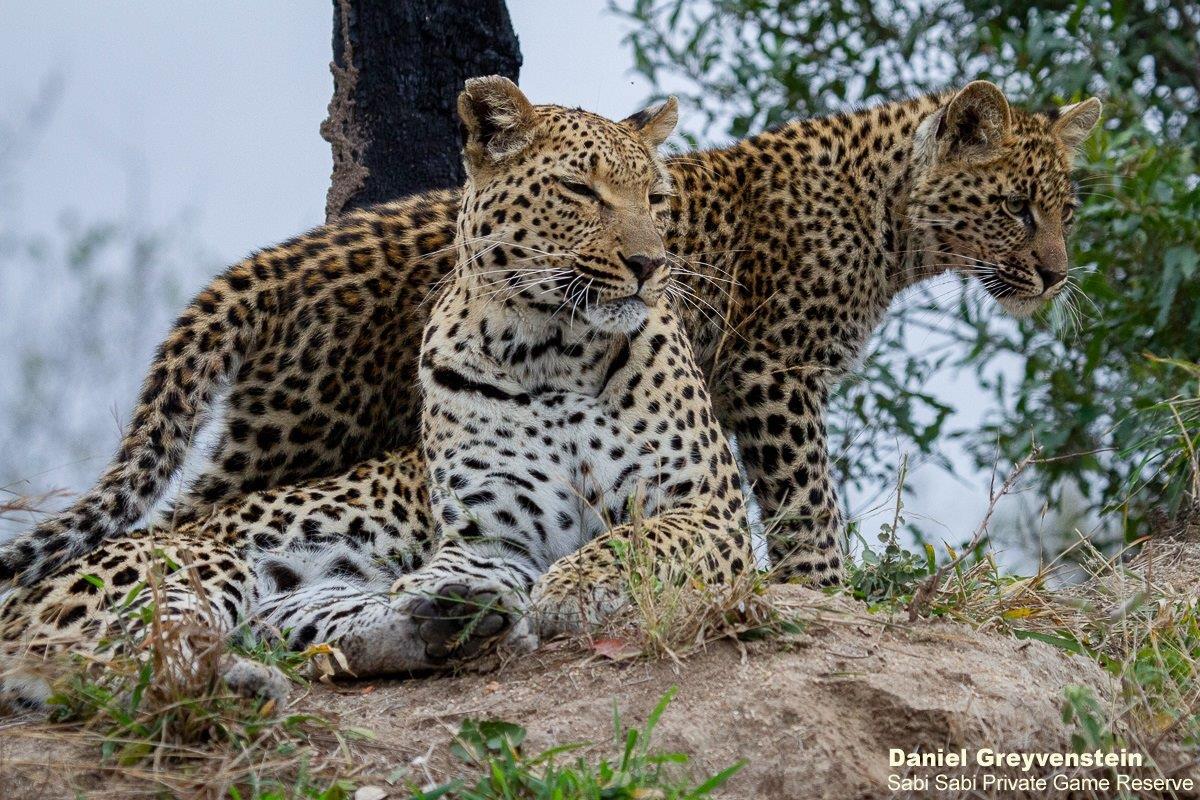
A completely automatic mode where the camera will decide which focus point will be the best to use. The camera will take into consideration the subject distance, motion, if an eye is detectable or not to decide what mode will be used at that moment. Be careful with this mode, as when you want to photograph a static subject and something moves in the background/foreground, the mode might change in order to have the moving subject in focus.
Eye AF Mode
For portrait photography this will be the best mode to use. It is always important to have the eye in focus when doing portrait photography. This mode tracks the eye where it goes keeping it sharp at all times. Mirrorless cameras are the best in AF eye recognition, and this mode can be used in wildlife photography. Eye AF mode is a constant evolving mode, with new features being available with each new model and new technology.
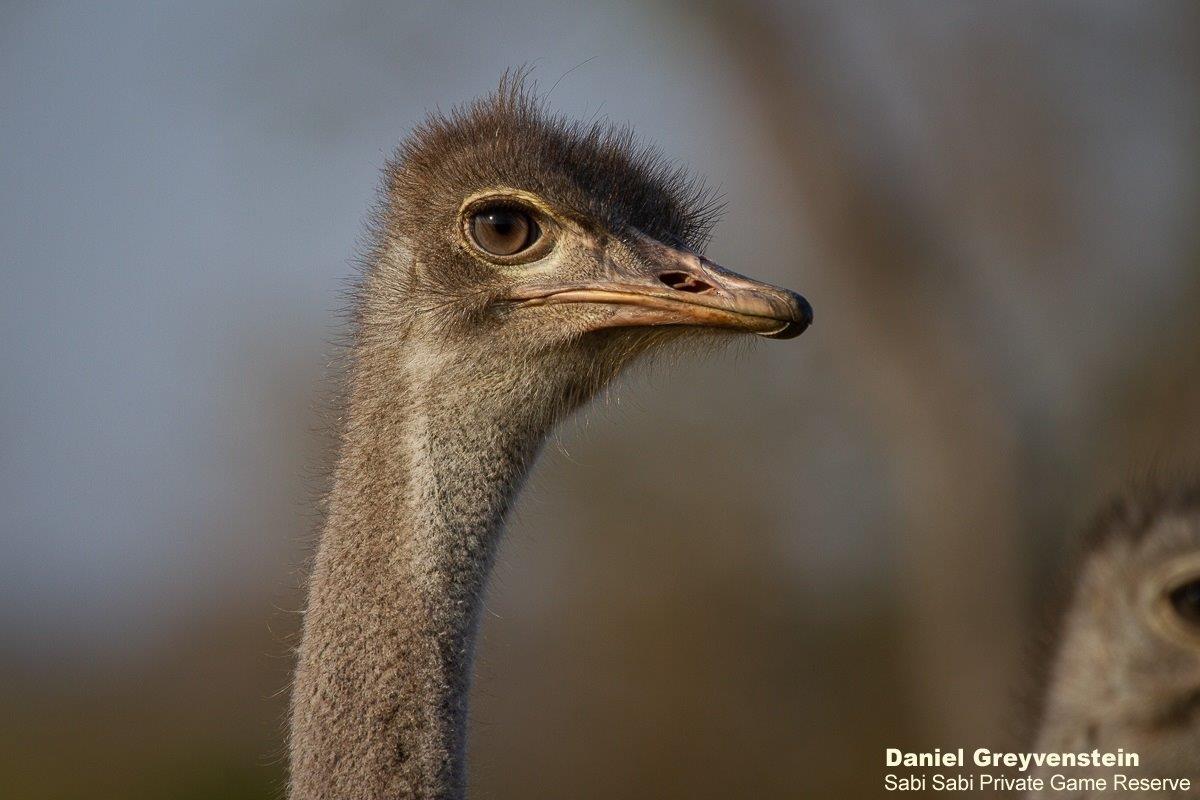
Best focus modes to use for wildlife photography
The mode that you are going to use depends a lot on the animal and the scene around.
For slow moving subjects, Continuous AF mode along with the Single-Point Area mode/ Dynamic Area mode. You can use a smaller AF area mode like 9 points.
Fast moving subjects, like flying birds, the best mode to use would be Continuous AF mode with the Dynamic Area mode, using 51 points.
For static animals, but they can move unexpectedly, both the Auto modes can be used. Automatic AF mode with Auto AF area mode. This allows the camera to make a decision what the best modes will be.
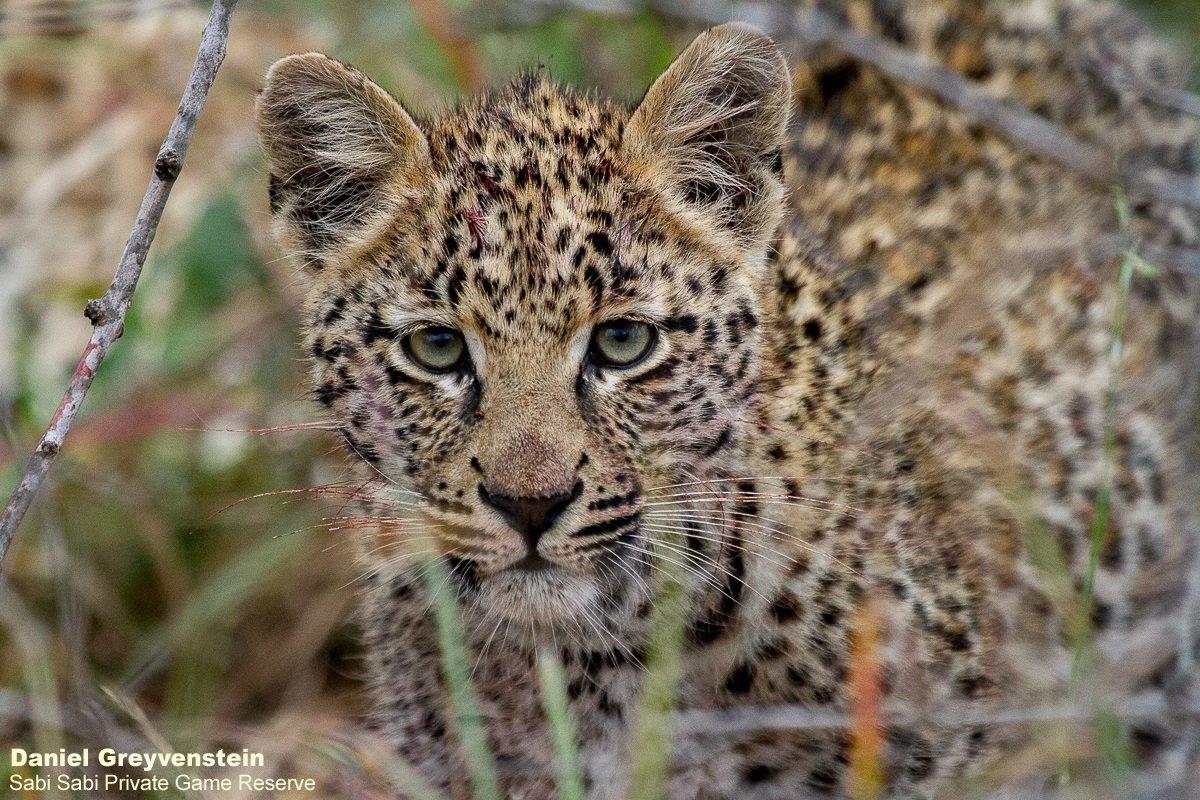
That’s it for our 2nd Danny’s Wildlife Photography Tips and Trick Blog. Stay tuned for the next one, and Happy SHARP Shooting!
Danny's Wildlife Photography Tips and Tricks Series:
Vol. 1: Settings and Modes
Vol 3: Compositions and Techniques

