Star Stitching
on Jun 13, 2017In this Photo Tip I will go through the creation process of a multiple image Star stitch in Lightroom, with a step by step guide.
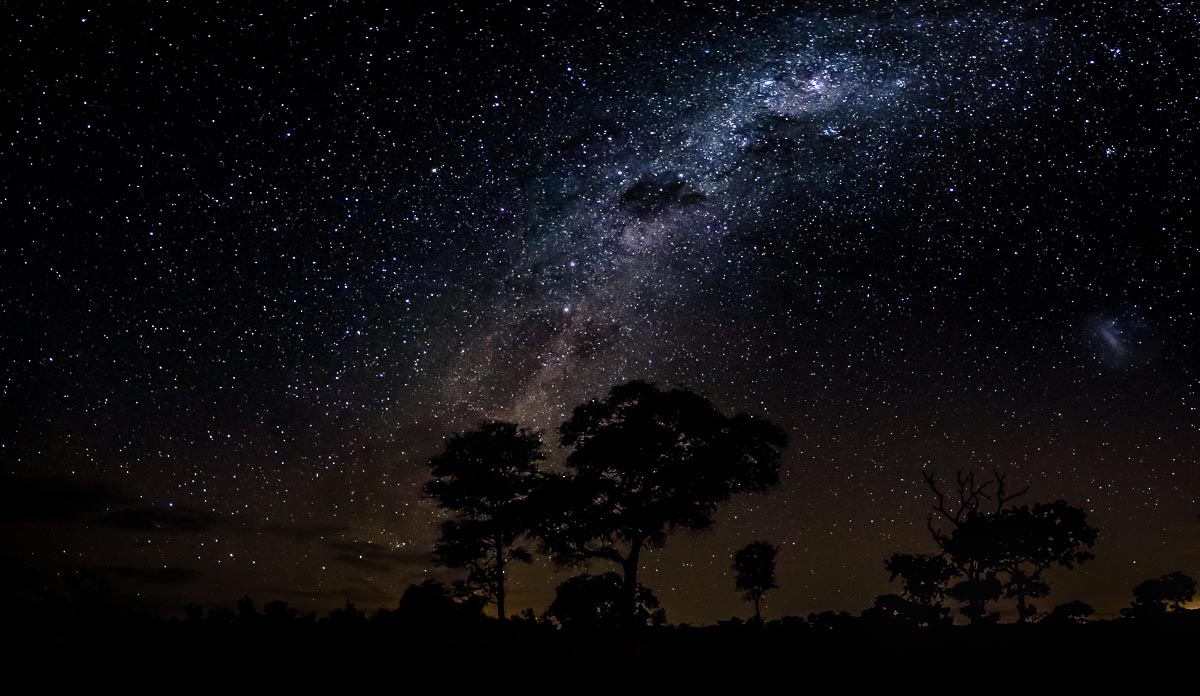
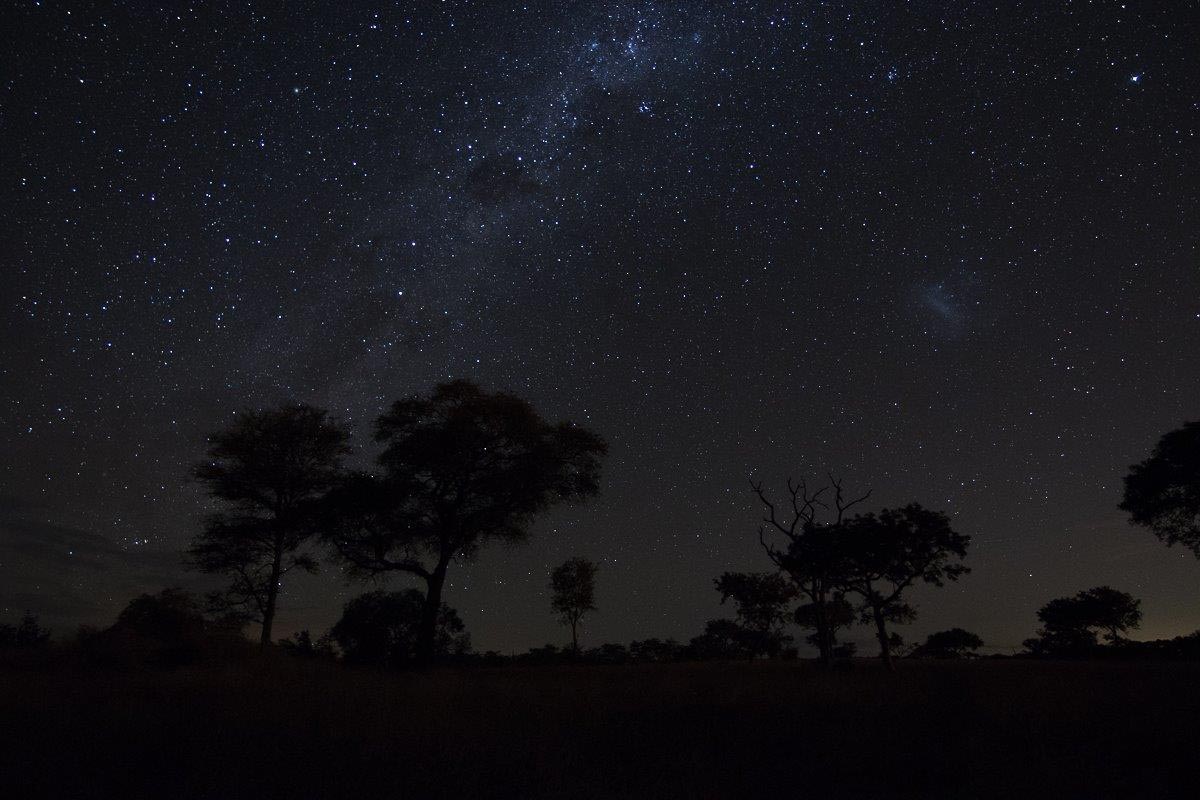
This image is the product of stitching 8 others in Lightroom CC and then editing the final stitch to create the final image. If you have an older version you will need to create the panorama using Photoshop instead.
Step 1
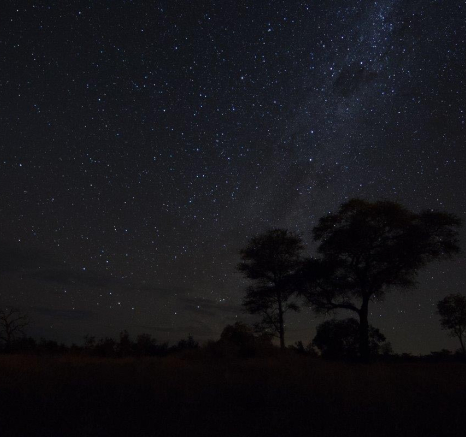
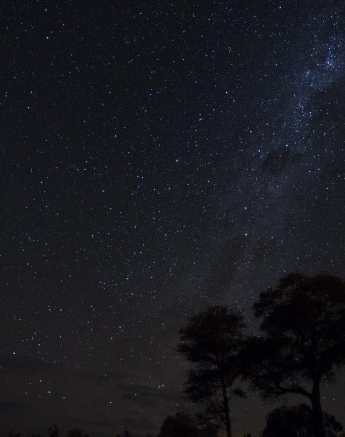
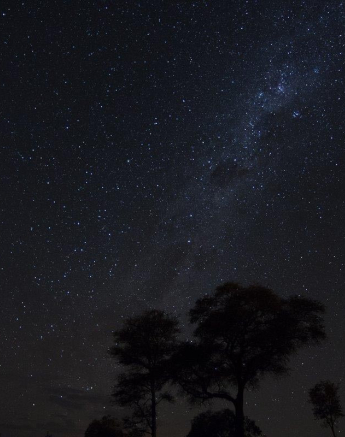
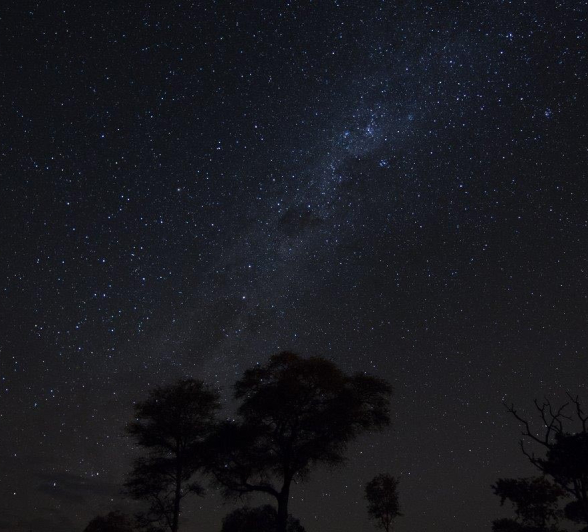
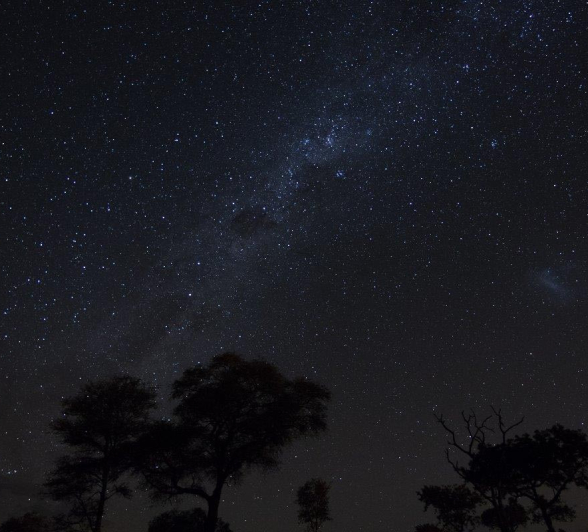
Take the photos! Below are the 8 images I took to create this stitch. If you look closely you can see each overlap quite a bit and this is essential in creating a good stitch: it ensures that the process is accurate.
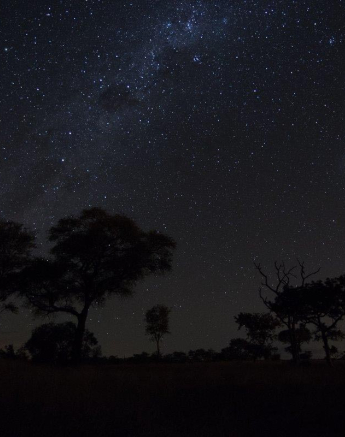
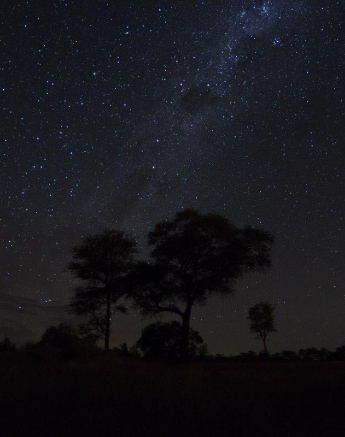
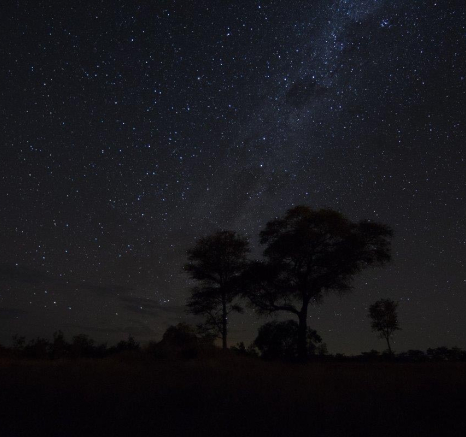
Step 2
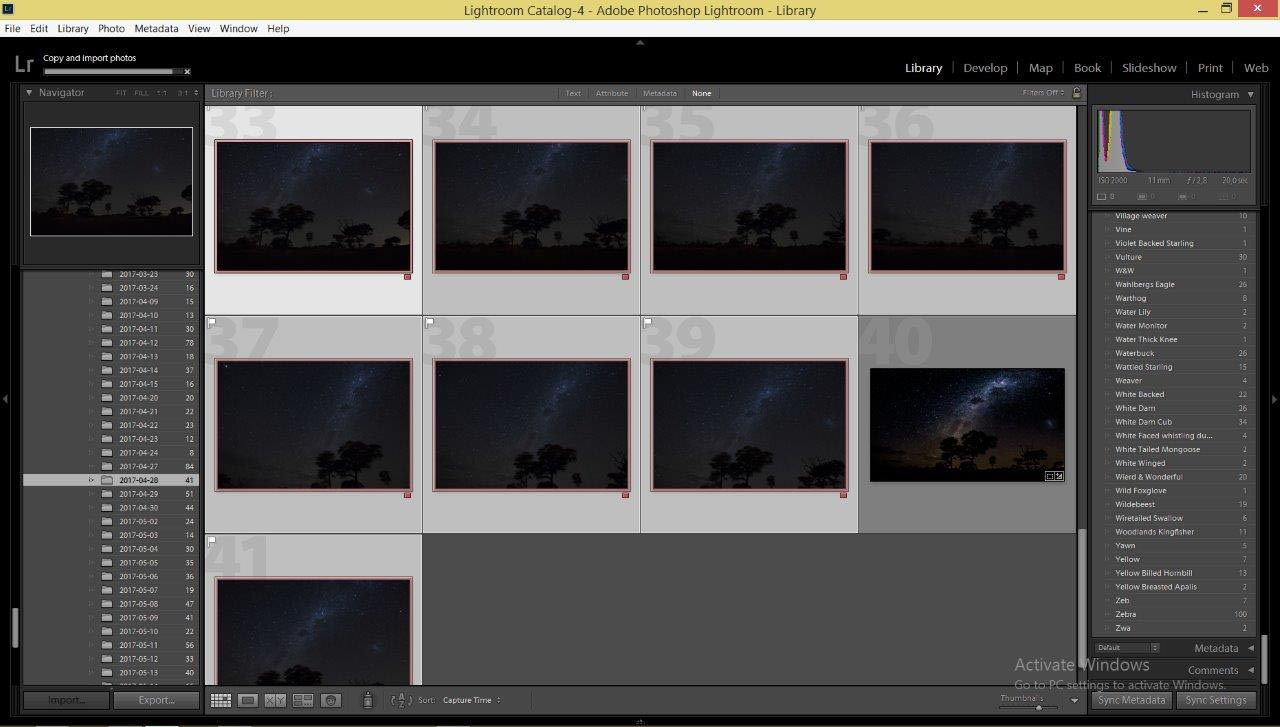
Import the images into Lightroom and select them all with ctrl select.
Step 3
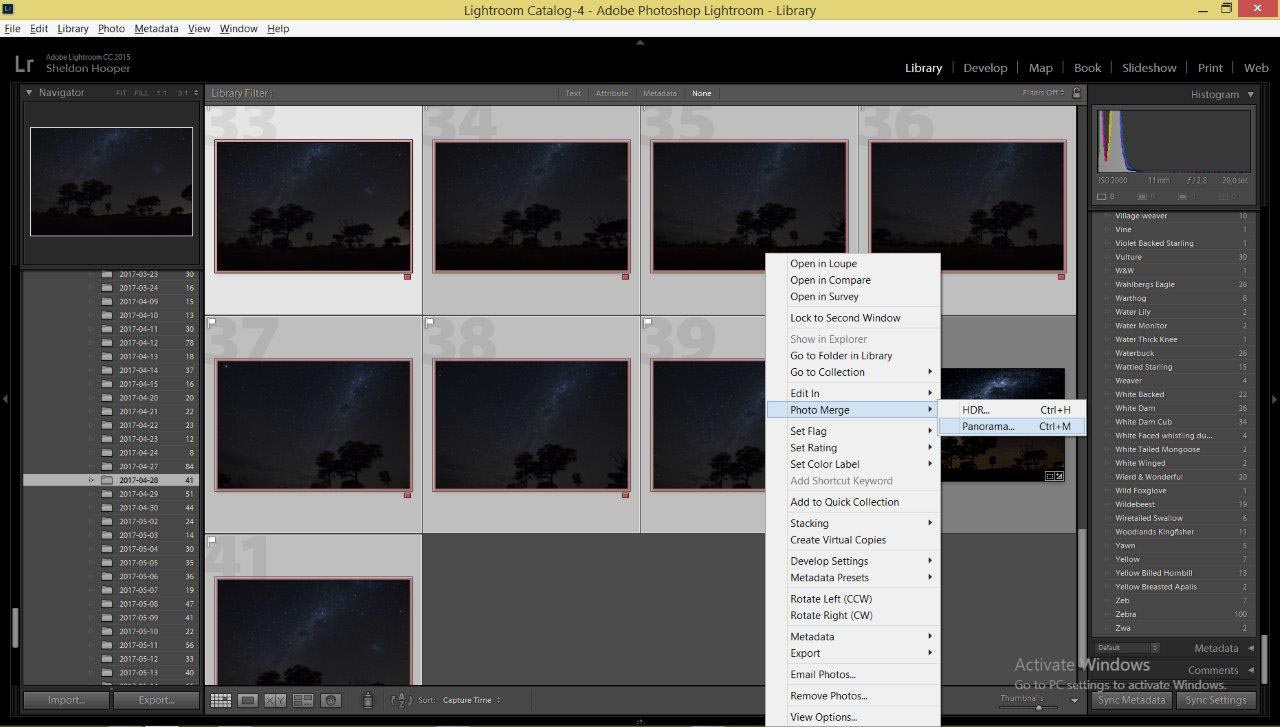
Left click on the selected images and scroll to Photo Merge where you will find the options to create an HDR (ctrl-h) or a panorama (ctrl-m). Here we will choose panorama.
Step 4
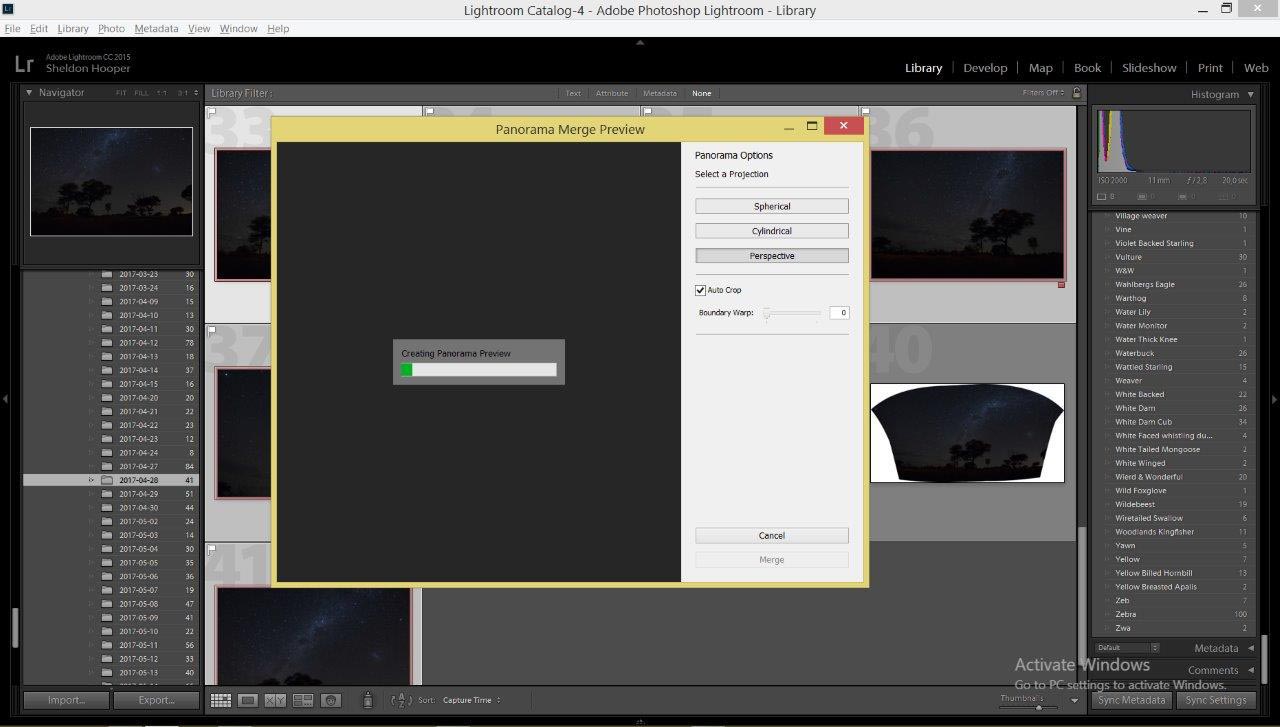
The next window will pop up and provide you with a preview of the final image using whatever mode had previously been selected as seen below.
Step 5
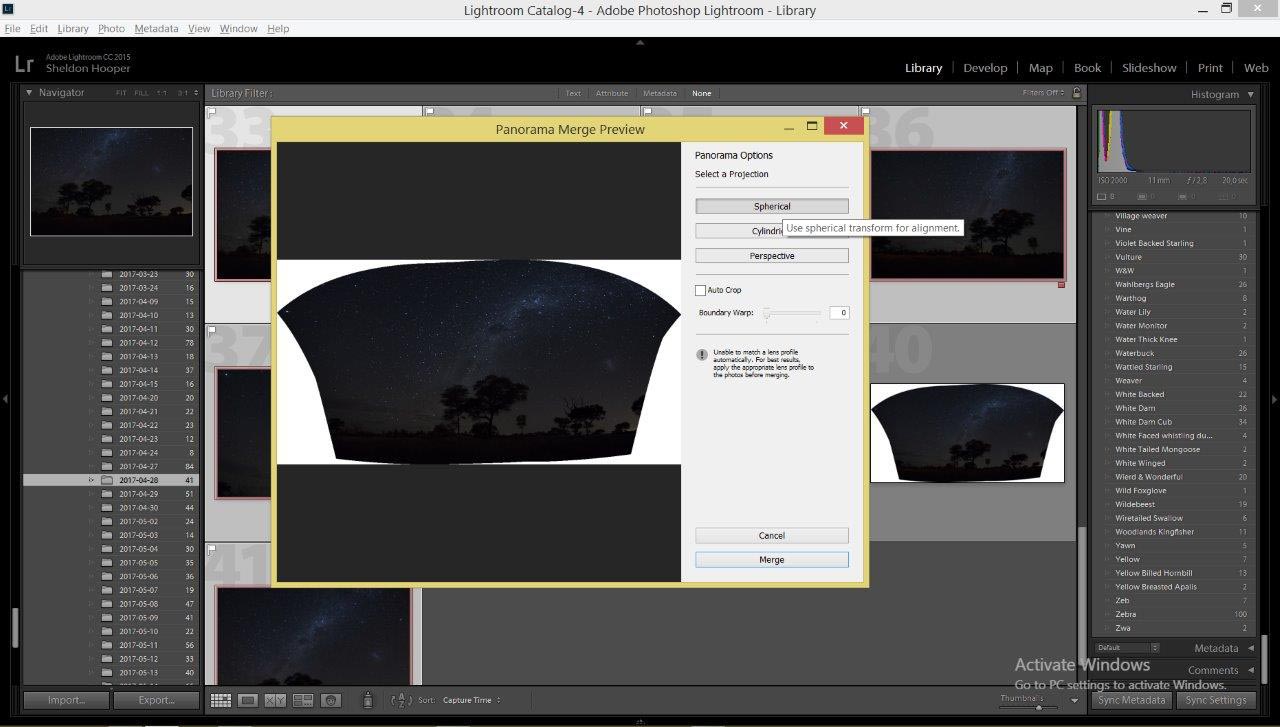
Now we choose the style of panorama we wish to create. For this type of image, Spherical works best and the product is seen below.
Step 6
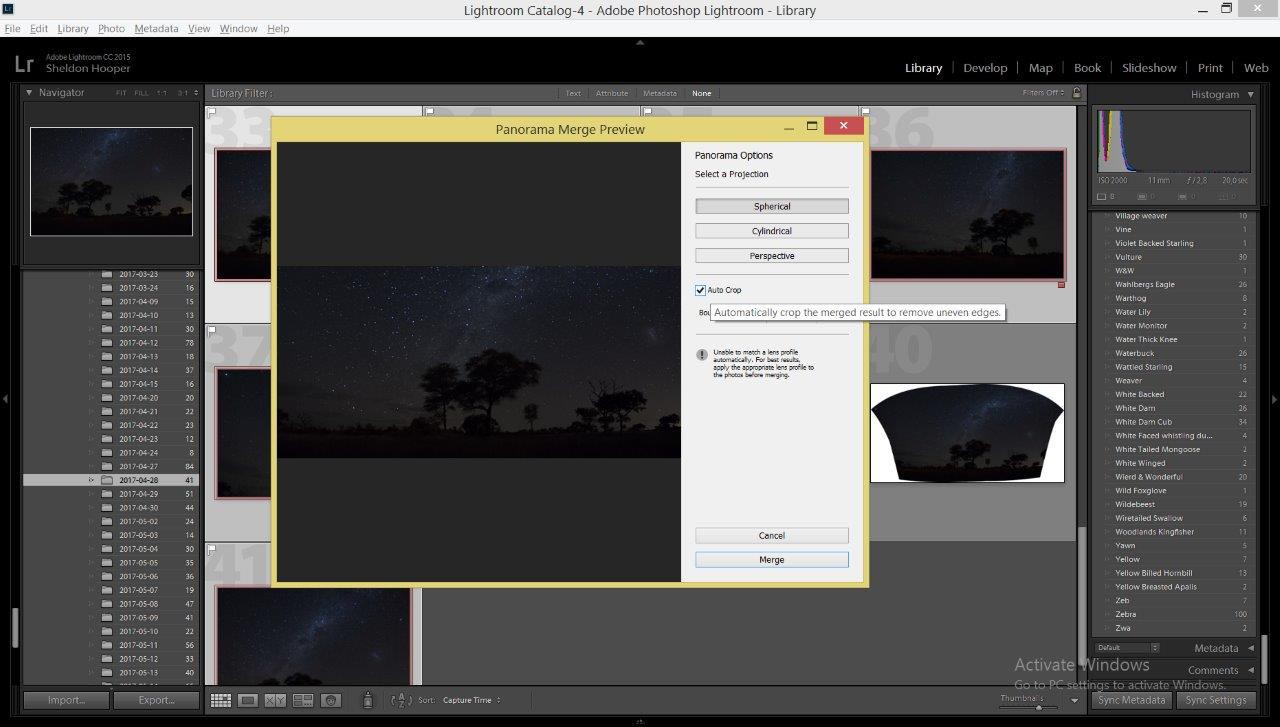
There is also the option to auto crop and allow Lightroom to crop off all the unwanted white space as seen in the above image above - which will give you the final image below.
Step 7
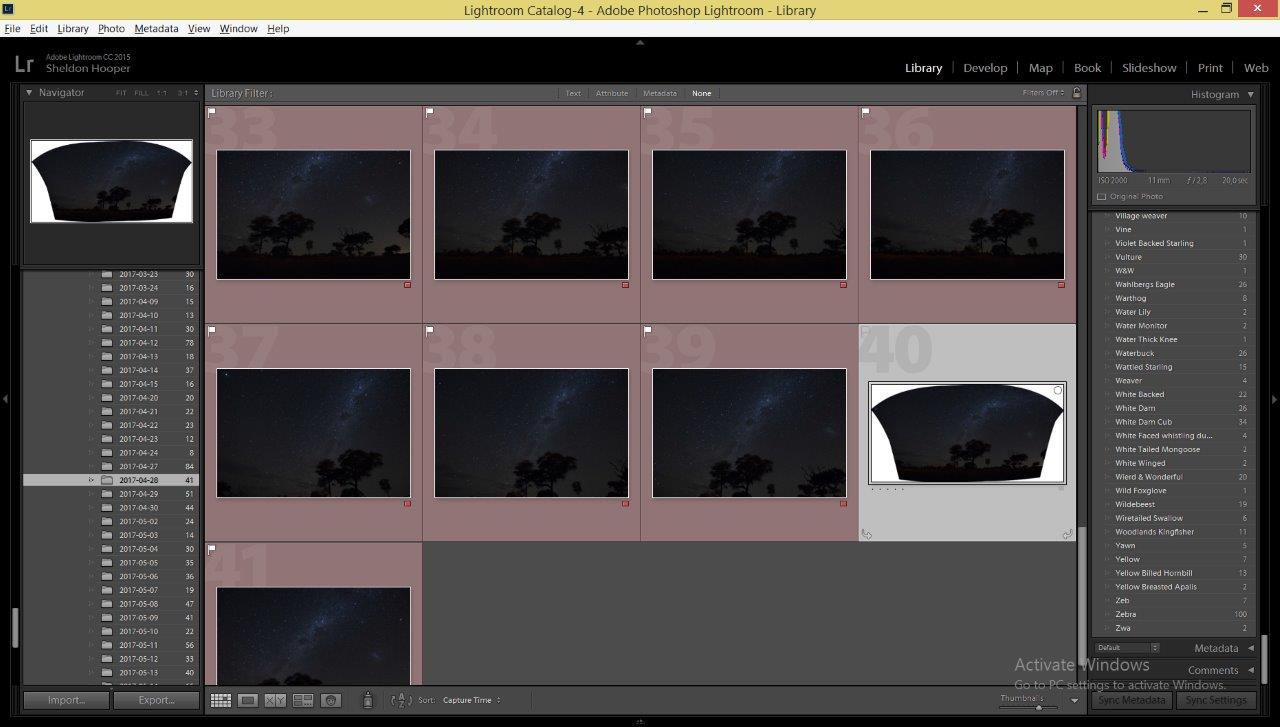
After selecting merge on the panorama pane, Lightroom will run through the process of merging them together and once done will add your final image to the current folder ready for editing. The more images you want to merge the longer it will take and the larger the file will be.
Stitching is limited only by your imagination and can be used to create any image that is out of your focal length limits.
Have fun using this new technique and don't just look through the viewfinder, look around...
