Shoot for the Stars: Part Two
on Aug 09, 2016In the last Photo Tip, Shoot for the Stars: Part One, I shared with you some advice and my personal approach to capturing the night skies on camera. As promised, this week I shall take you through the editing process for one of those images so as to give you a better idea of how to best achieve the desired look of a stellar star shot. Please understand from the outset that these are only guidelines and you should always look to creating images that YOU yourself find appealing. My taste may not be your taste, and therefore what I think is a great image may not be in your own opinion. With that being said, let’s continue...
What you’ll need is the following:
- A selection of the images you wish to edit.
- An image editing program such as Adobe Photoshop: Lightroom or Adobe Photoshop.
- Time and a vision of what you wish to achieve.
- Optional extras. i.e. Presets (I personally make use of these and they are a huge timesaver.)
Getting to this point, you should have already applied the principles set out in the last Photo Tip and as a result should have some sample images to work with. The image that I have chosen is actually a panoramic stitch of the night sky and so there would now be an extra step of creating that panorama before continuing with the editing itself. Below are the images that I need to stitch together.
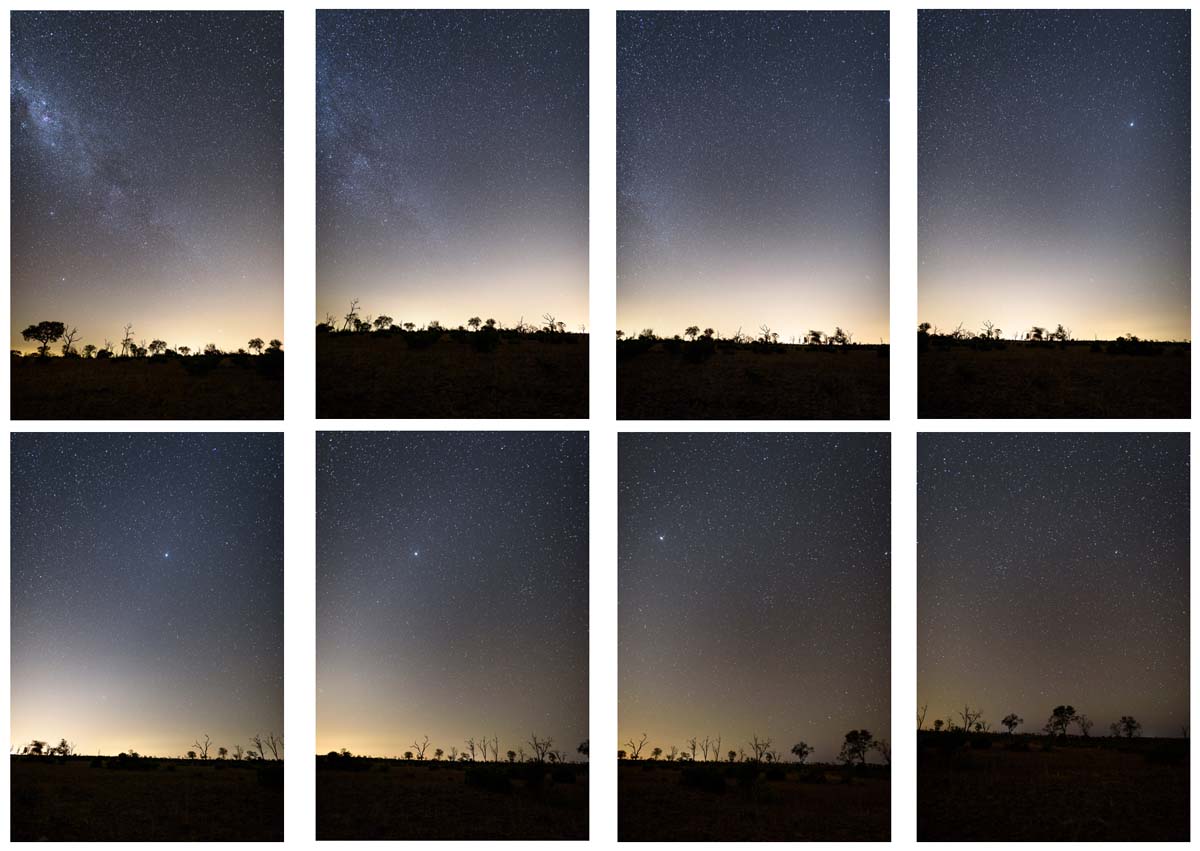
I took eight vertical pictures of the scene I wished to capture and already knew that I wanted a panoramic photo before taking the images. Thankfully, nowadays editing software has made things like stitching incredibly easy to do and is now literally a click of a button. In the latest versions of Lightroom, all you need to do is select the images, right-click, and choose the option as below.
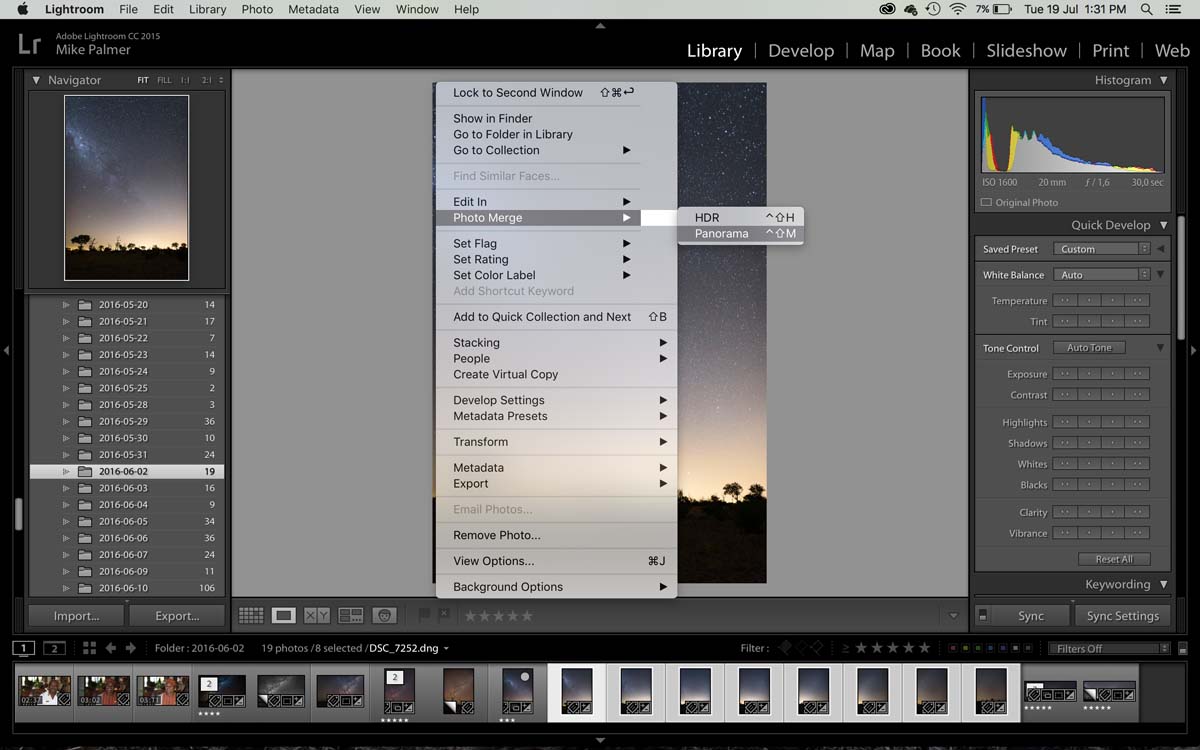
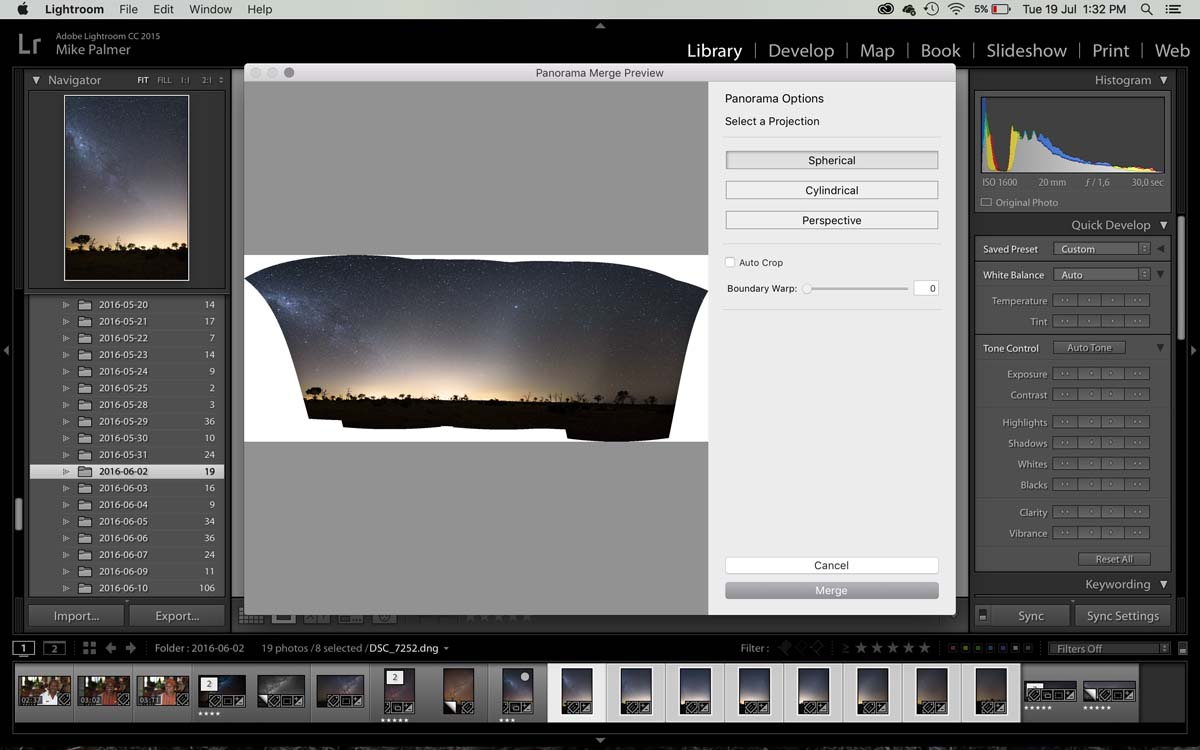
The software now looks at the images and stitches them together automatically in seconds. No longer have you got to do this manually in a complicated program like Photoshop. The software will give you options to choose from, allows you to select the style of stitch that you want, but I usually just leave it on Spherical. It will also give you the options to auto-crop or warp the image into fitting the frame and you can choose these as you wish. For some images this works well and others not so much. I leave them as is and click Merge.
Now that the image is created, I add my first preset that I apply to all images entering my Lightroom and begin cropping to my taste.
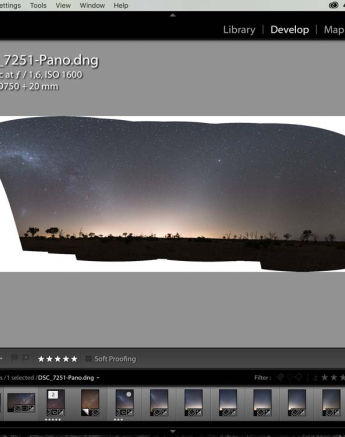
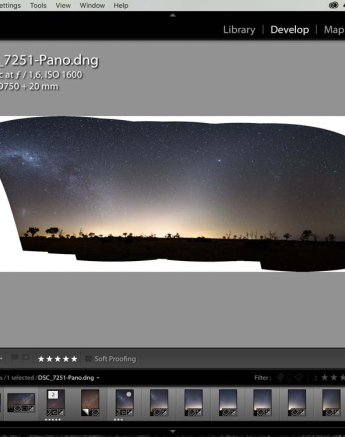
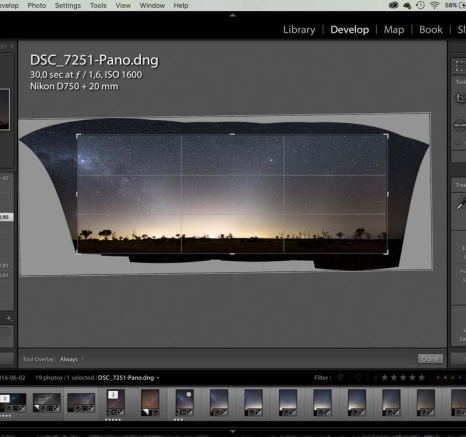
Once this is done, I already have a decent looking image and so now is the time that I start playing around with my Presets in order to add another dimension to my images. Sometimes the image out of camera along with the basic edits is more than enough, but there are times as well where a more artistic approach can be taken, depending on how the image speaks to you personally.
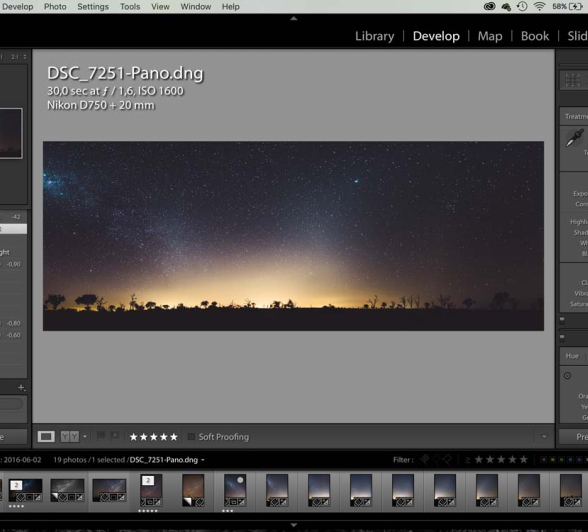
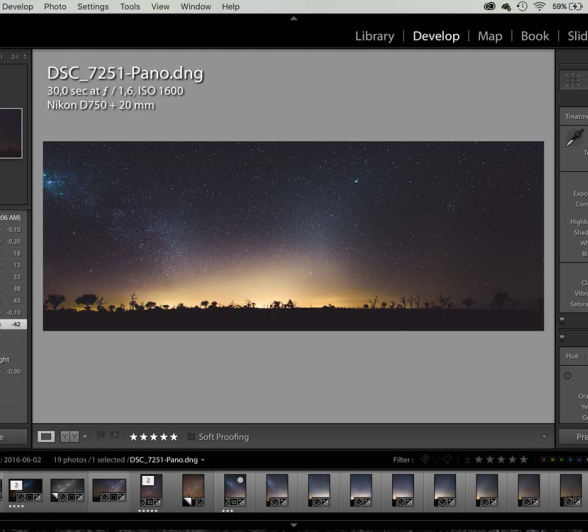
Here I applied one preset which I liked and then made two minor adjustments. That’s it! It took me all of 10 minutes to have all of this done and exported as a jpeg to submit for Social Media usage. I can’t stress enough just how useful presets can be and if I can offer a piece of advice it would be to make use of them as much as possible to speed up your workflow.
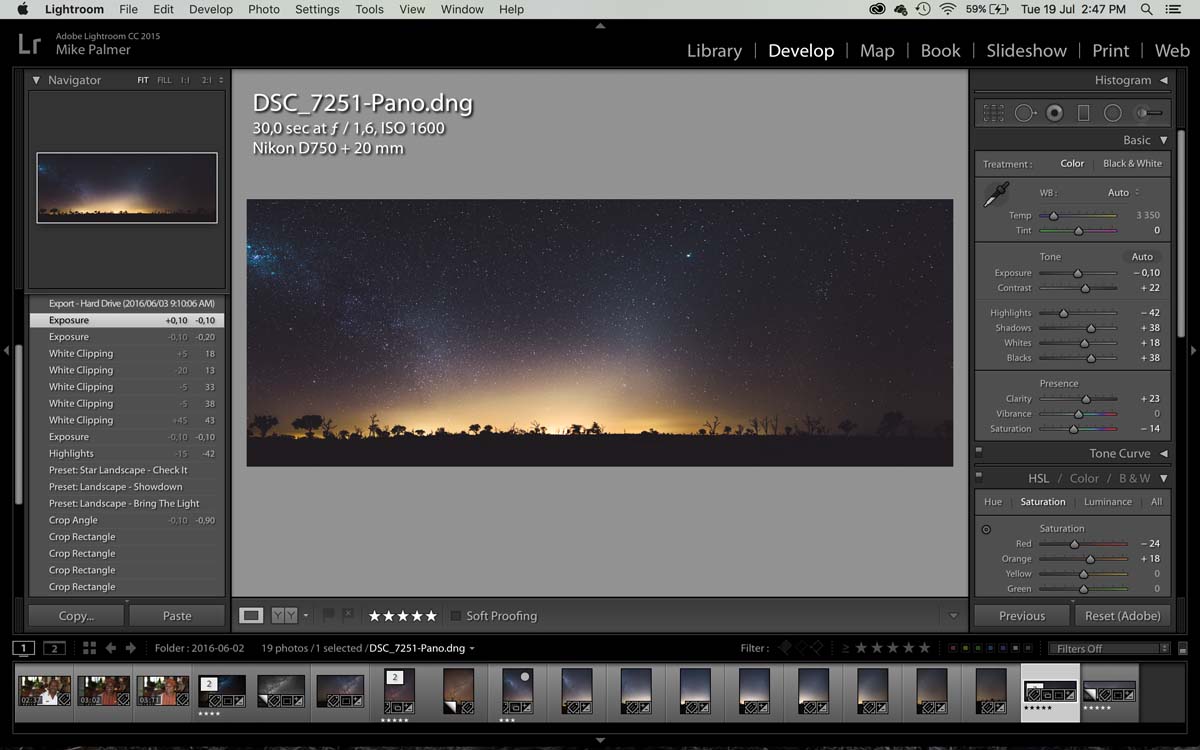
And there it is folks. I hope you have enjoyed these tips on how to capture the night skies and will go forth with your newfound knowledge to make some great images for yourselves.
Until next time...stay focused!
Mike Palmer (Bush Lodge Ranger)

