Panning
on Dec 13, 2016In this photography tip, I want to go over how to achieve a panning shot.
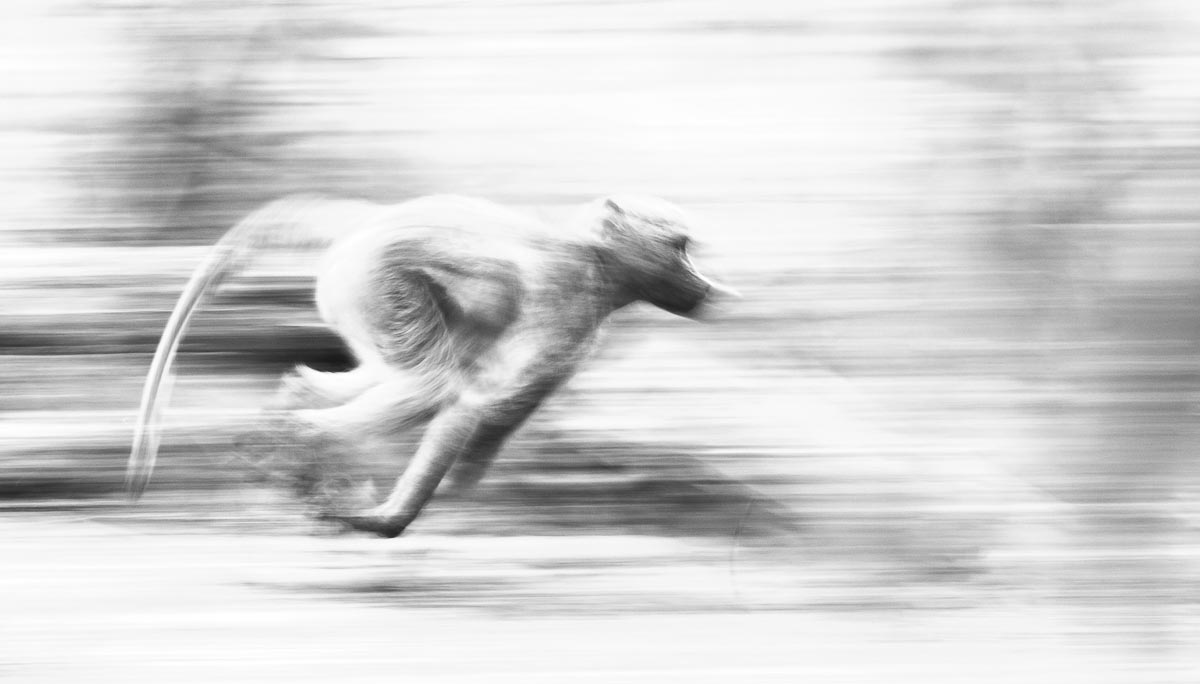
The photo in question is this one of the running baboon. Here we see the background is completely blurred out and enough solid aspects of the baboon are in focus that we can make out the overall shape of it. This blurring of the subject, as well as the frozen focus points on the baboon, lend movement to the image and create a very interesting image all together.
In order to create an image like this, there are a few basic rules you need to follow...
Firstly, you need to slow your camera down considerably. This shot was taken on an overcast day and thus this was not difficult to do. This was taken at 1/20th of a second with my ISO sitting at 100 and my aperture at f.9.
The reason for slowing the camera down is so that we intentionally introduce blur, the longer the shutter is open the more blur you will have. Normally when dropping the shutter speed to this slow, your image would be over exposed on any normal day and so this requires the lowest ISO setting possible as well, mine being ISO 100. If this still is not helping and your image is still too blown out, you will then start to increase your aperture, narrowing it and further reducing the incoming light and so it will darken.
Now if you were to take the photo of the animal, the animal would blur if it moved and the background would look normal, this is what we want. Here you can see that I had this right.
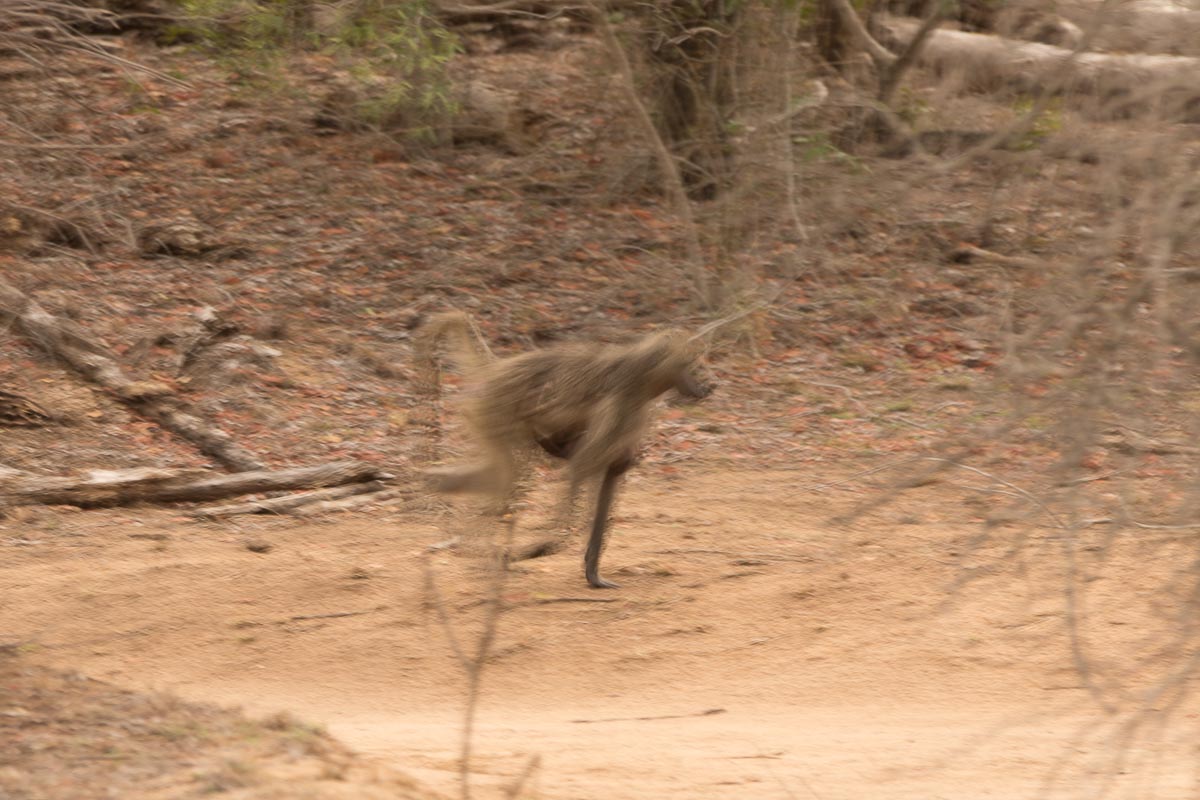
All you need is for an animal to be running across your field of view, left to right or vice versa. As it runs across your plane, you will follow it with your lens (Panning or Tracking), try and keep the speed constant and the plane of your pan level so as to achieve straight horizontal blur lines. As you can see in the next image I was panning at a slight angle and so the lines are not horizontal but diagonal.
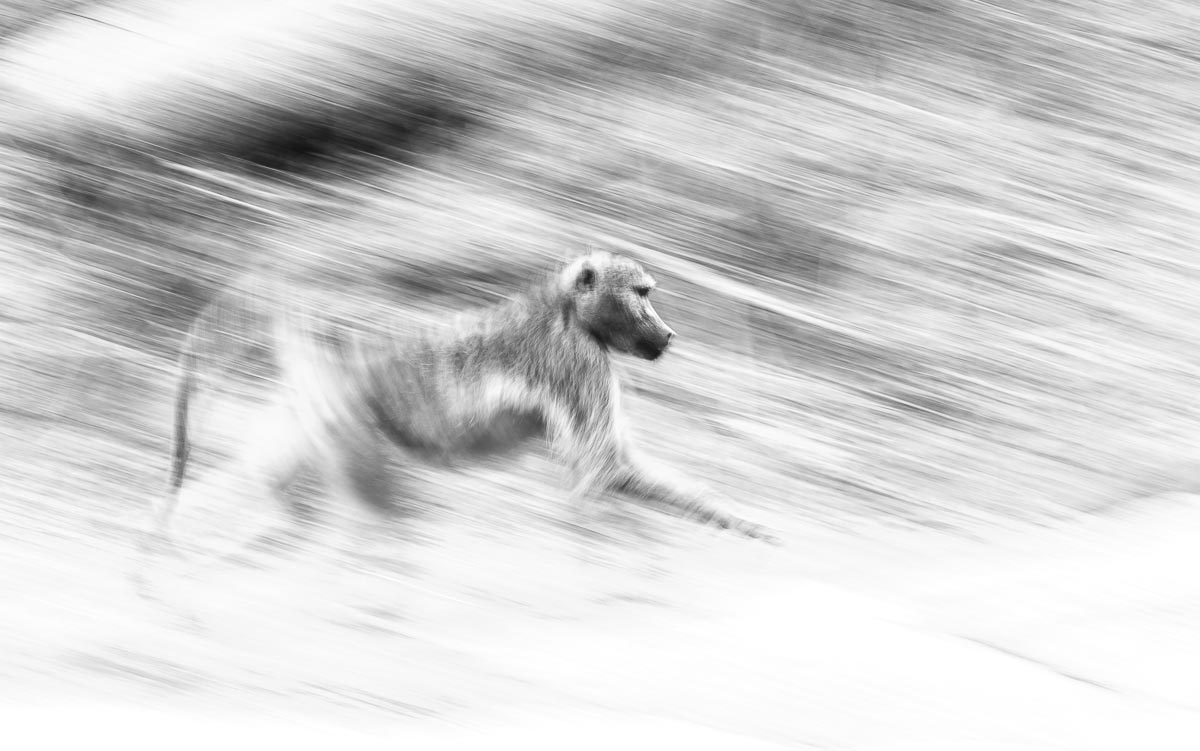
You will need to shoot in burst mode as this is quite hit and miss, and animals that are in larger numbers tend to work quite well for this trick as it offers you more opportunities. This particular photo was one out of forty that came out well.
When done right, you will find that most of the animal comes out in detail, even if it is just one portion, often the head or even just the legs. I then converted the image using my High-Key Preset that I went through in my previous photo tip on how to create a High-Key image .
I hope this helps you to produce many interesting and different images in the future, remember don’t just look through the viewfinder, look around...

