Combining multiple action shots
on Jun 14, 2016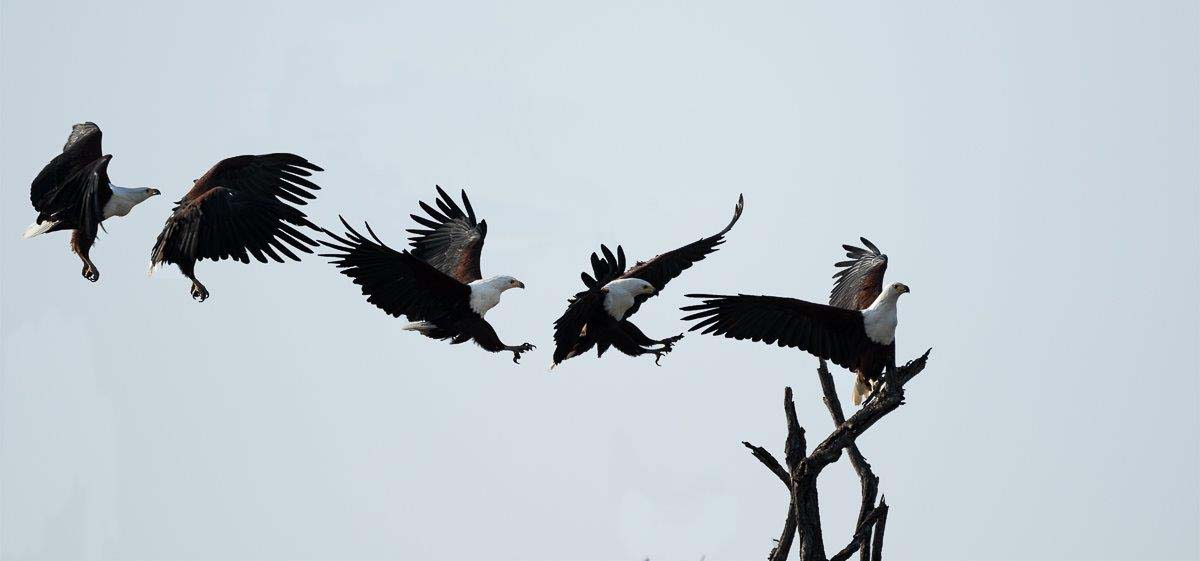
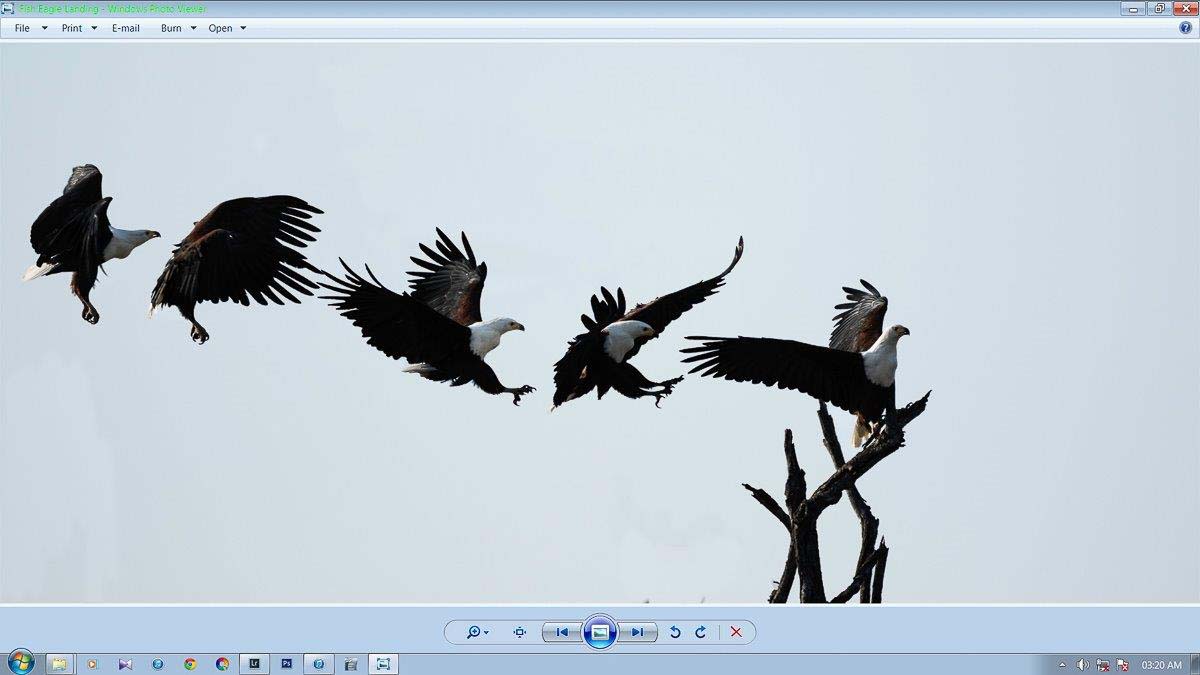
In this photographic tip I will be going through how to create an image composed of multiple action images, blended into one, like the one of the Fish Eagle landing that you see above. This needs you to have both Lightroom and Photoshop installed,or any comparitive image editing and manipulating software.
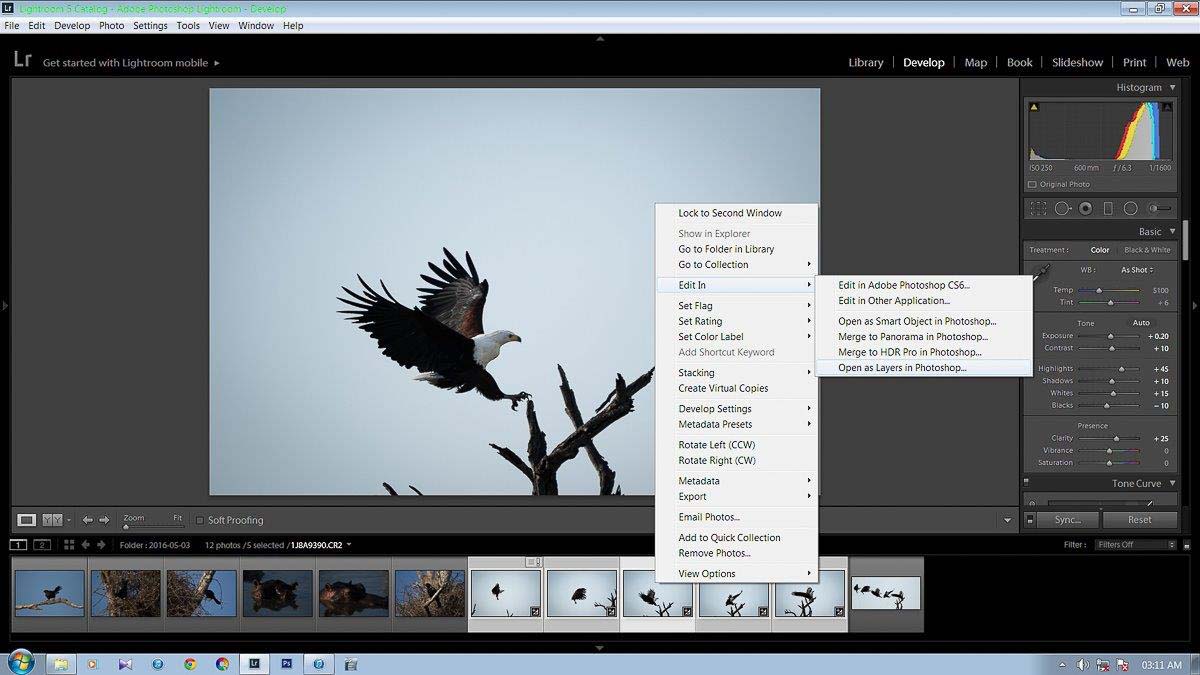
Firstly, we start by importing our series of images into Lightroom and editing them to our desired outcome. I wrote this tip after I had completed the image hense we see the final image in the photo-strip in the image below.
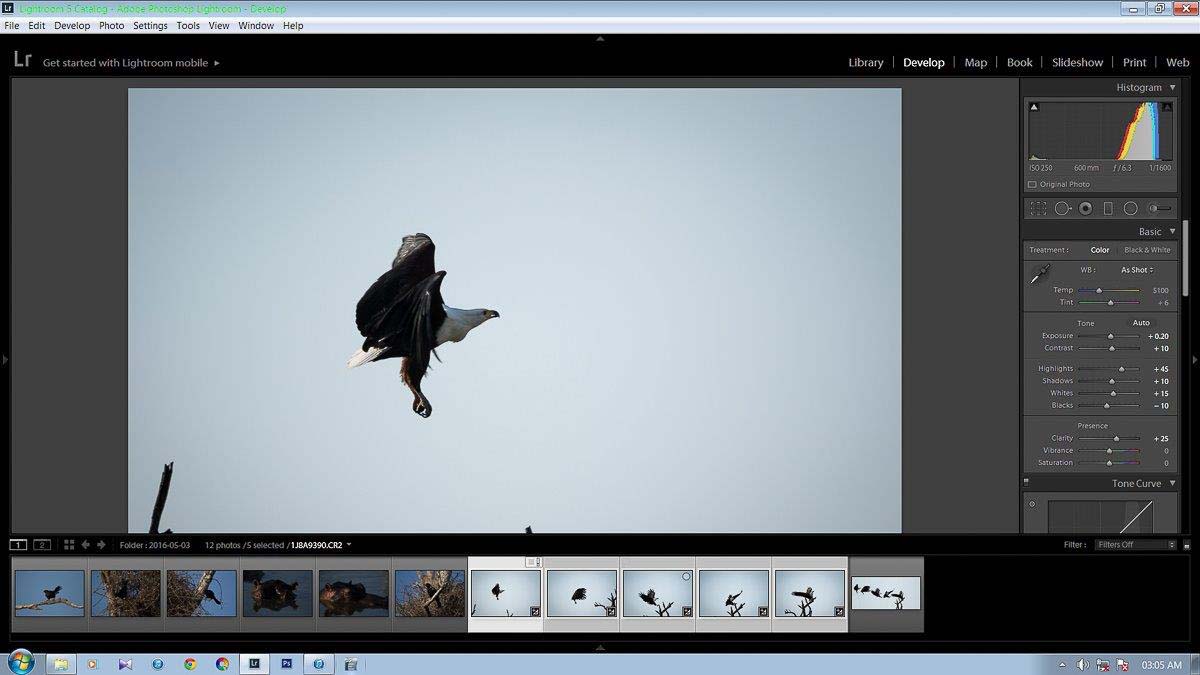
The best thing to do here is to edit only the one image and then copy/paste the settings over to the others in the series so as to keep the colour/contrast and brightness as equal as posible in all the images. As you can see in the photo below I have done just this and then copied the settings over to all the others.
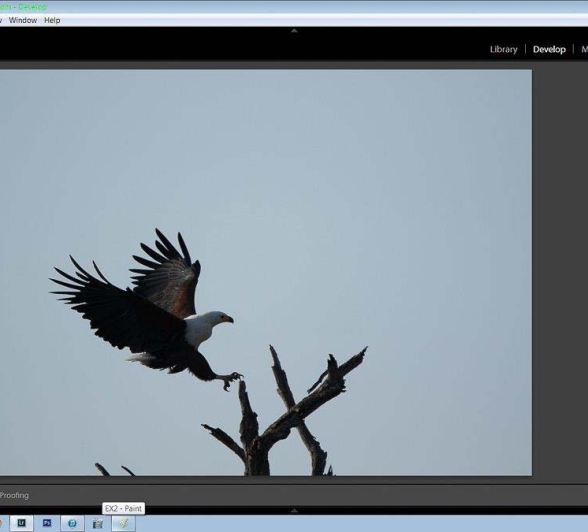
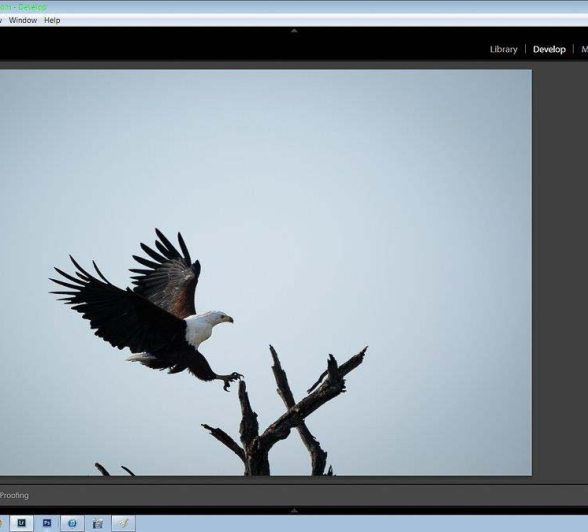
The next step in this process is to export these images to Photoshop. In Lightroom, select the series and then left click, mouse over "Edit In" and then select "Open as layers in Photoshop..." This will automatically add all the selected images to the same Photoshop project as individual layers. Just alow Photoshop to do its thing for now.
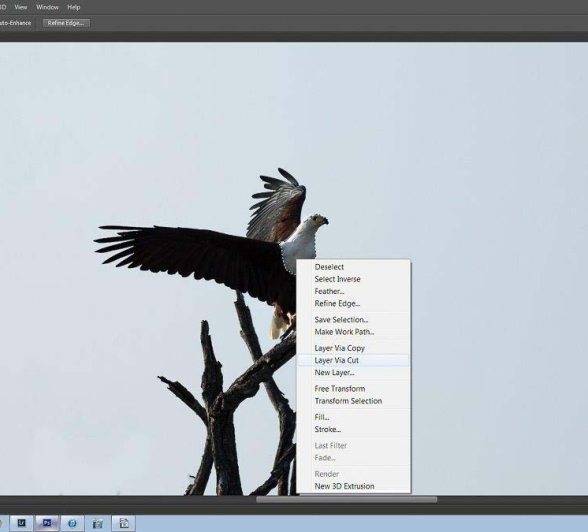
Our next step is to individually select the subject of each picture we would like to have transfered over to the main image. I did this using the "Quick Selection tool (W)" as can be seen in the image below. This is an amazing little tool that automatically picks up what you want to have selected with a little bit of nudging here and there.
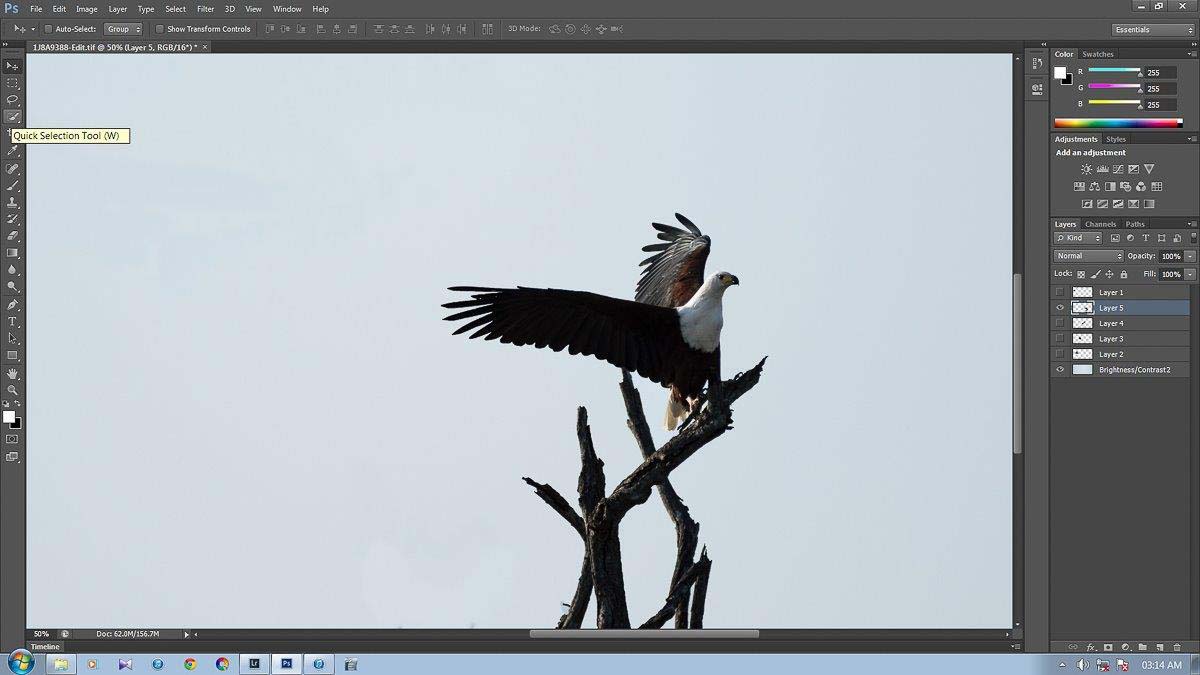
Once you have selected your desired image, you will then delete the background by right clicking and selecting "Layer via cut". This will delete the background and preserve only what you had selected. After this you are free to do some touch ups on it, removing unwanted items that were included in the auto selection etc.
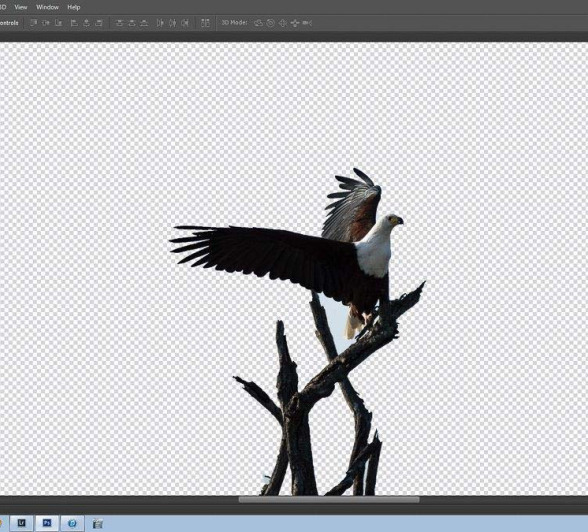
Your next step will be to resize and reposition your images to their desired final positions, here you can make use of the "Move Tool (V)" as well as the "Free Transform (CTRL+ T)" functions to position them to your liking.
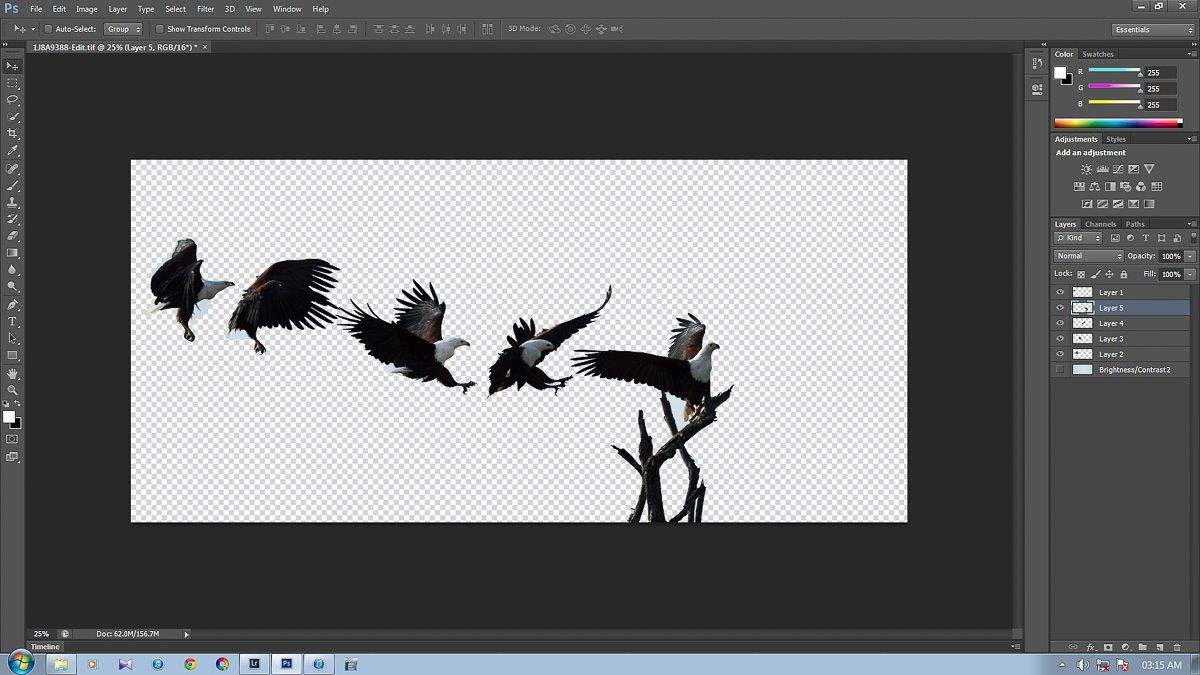
The final phase to this process is to add a background. I just used the origional background to these images that I cleaned up using the "Clone Stamp Tool (S)" and then resized so as to accomodate all the other elements.
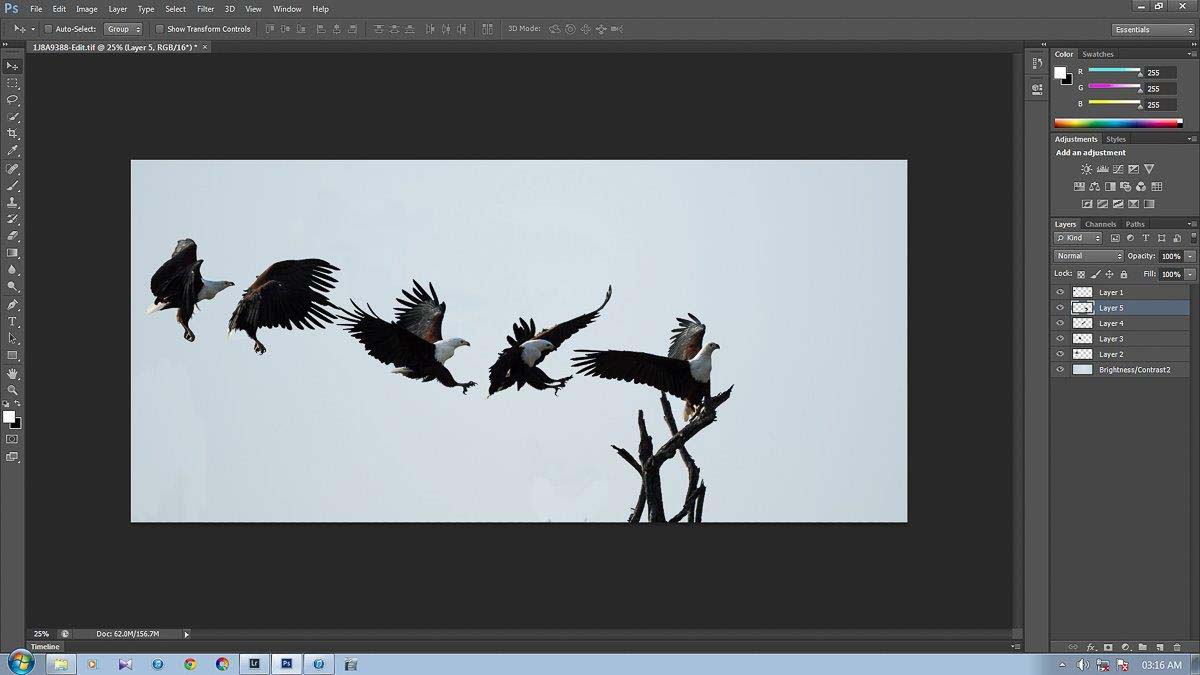
All that is then left to do is save your work and voilà, you have an awesome image composed of many others that tells a story in motion.
Don't just look through the view finder, look around...

