Radial Zoom in photoshop Part 2
on Feb 14, 2017In this photo tip I will run through how to do a radial zoom image in Photoshop from a still image you took out in the field. This is the second of two ways of doing this.
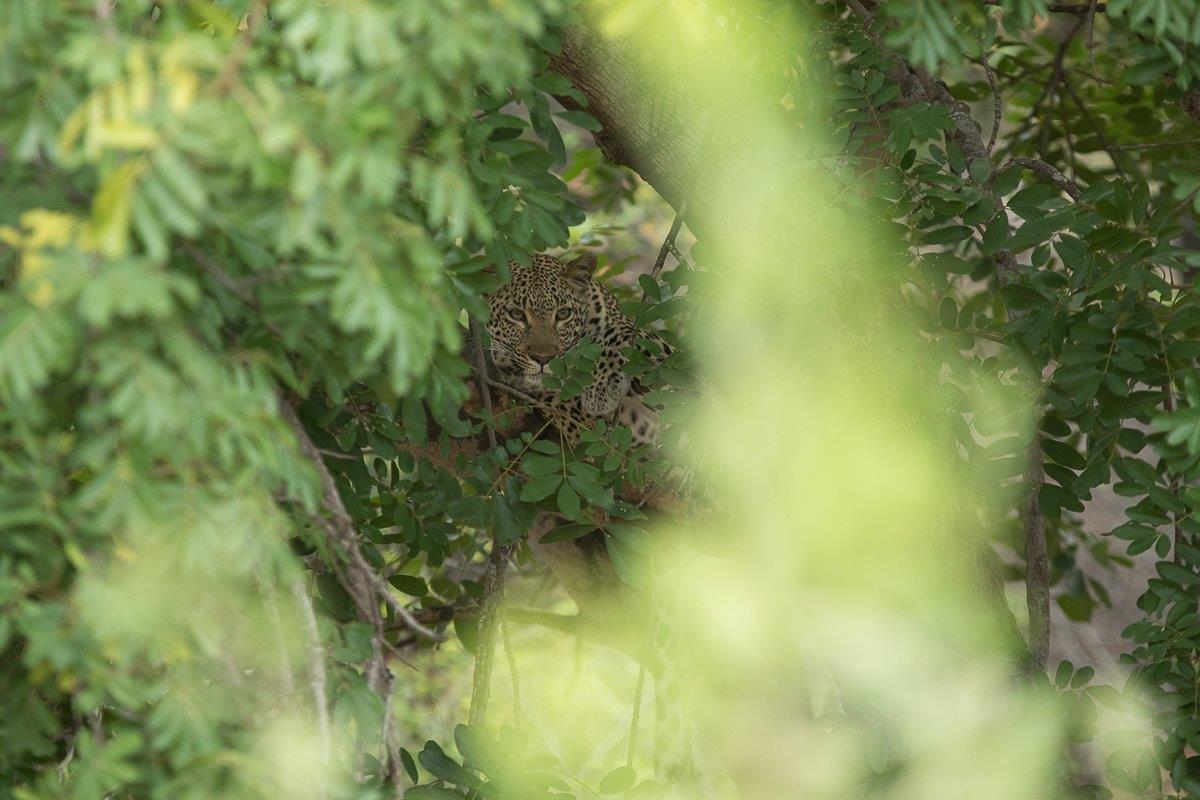
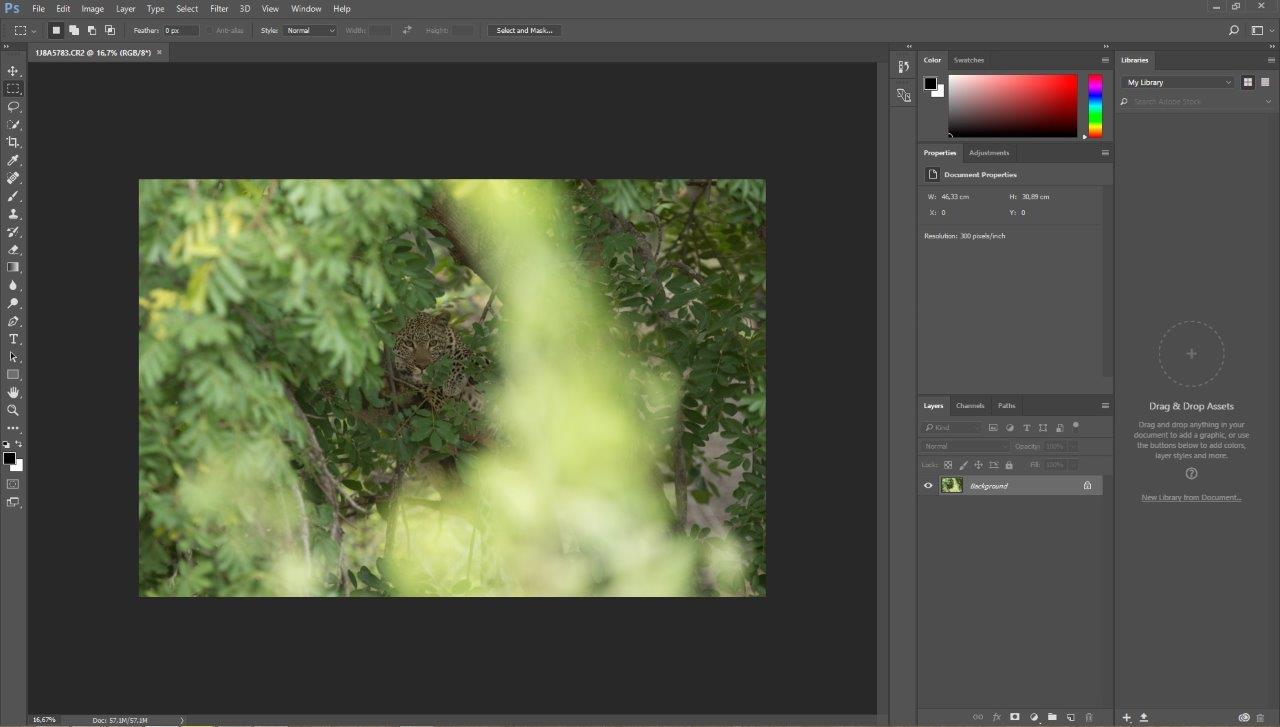
This will be the image we will work from. There are a few things that will make this different from an in-camera radial blur. The main difference is that the subject is off centre, but there is no need to worry about this as we are able to factor this in as we shall see.
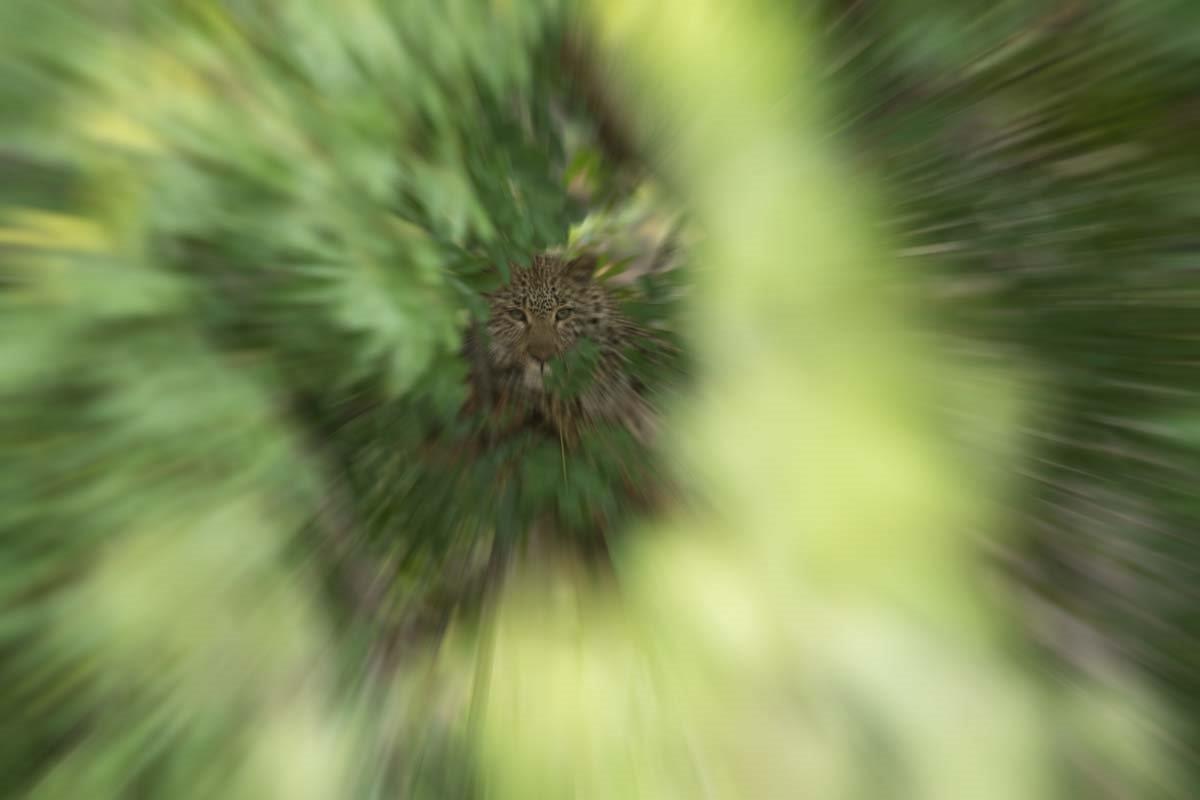
Here is the final image after processing in Photoshop.
Firstly we will start by importing the file into Photoshop, click Open, then select your image and select Open again.
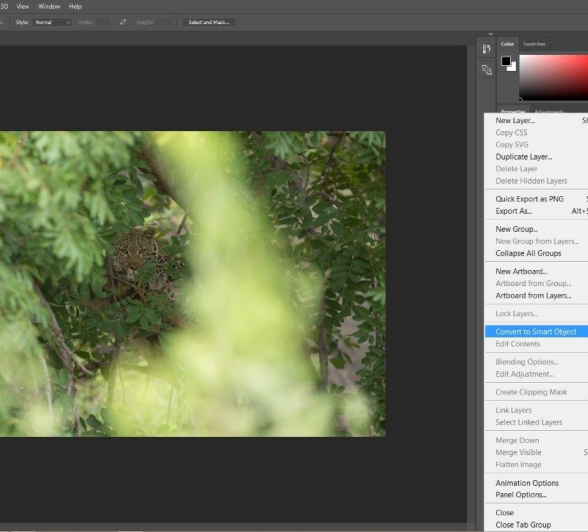
Next, we click on the Menu section of our background pane and convert the image to a smart object. This will allow us to overlay the blur effect in a non-destructive way and preserve the image quality.
Then we go to the Filter button on the top of the pane and scroll down to the Blur – Radial Blur option.
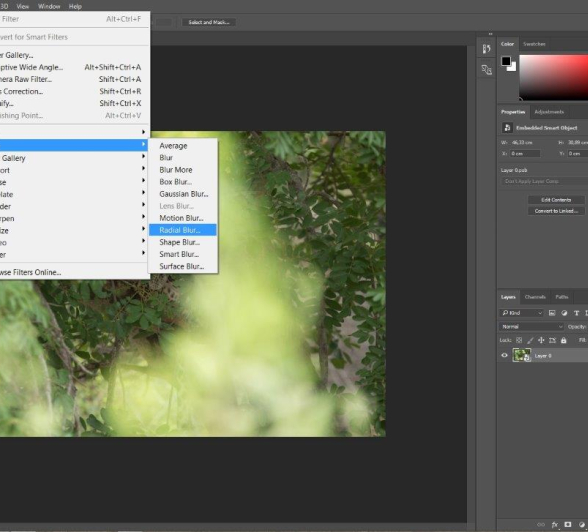
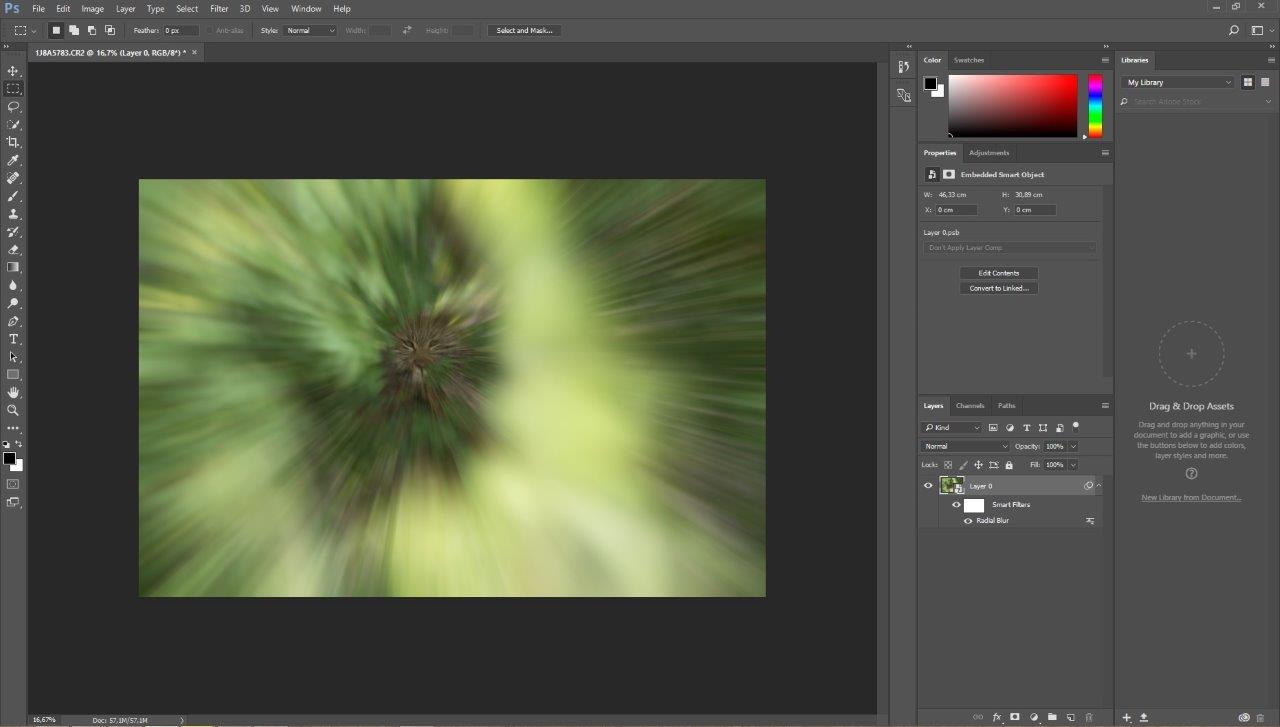
A pane will pop up where we can edit the blur settings. For now increase the blur amount to 100, set the type to zoom blur and the quality to best. We do this so as to see where we need to move the origin point of the blur in the next few steps.
Now we allow Photoshop to process and after a while we will have an image that looks like this.
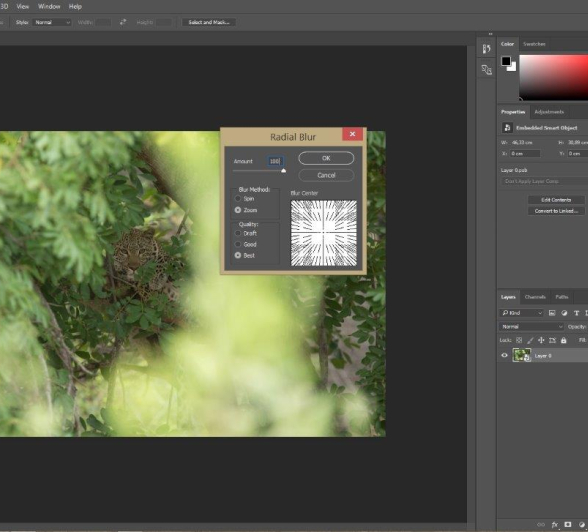
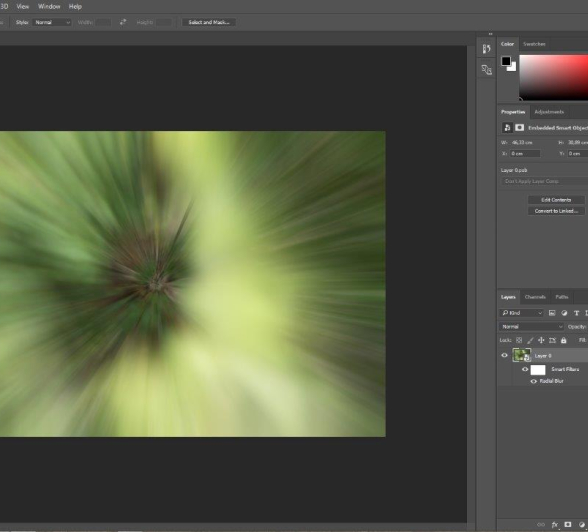
This is not what we want to achieve just yet as it is much too blurred and the focus point is not the leopard in the top right. To change this, double click on the radial blur tab underneath your background image and the Blur Options will pop up again. Go to the slider and decrease to around 30 instead of 100 and then click and drag the origin point in the white box on the bottom left to approximately where the leopards head is. Now click OK.
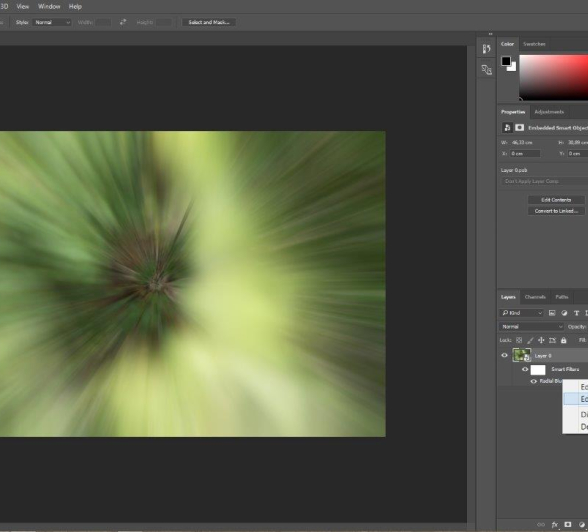
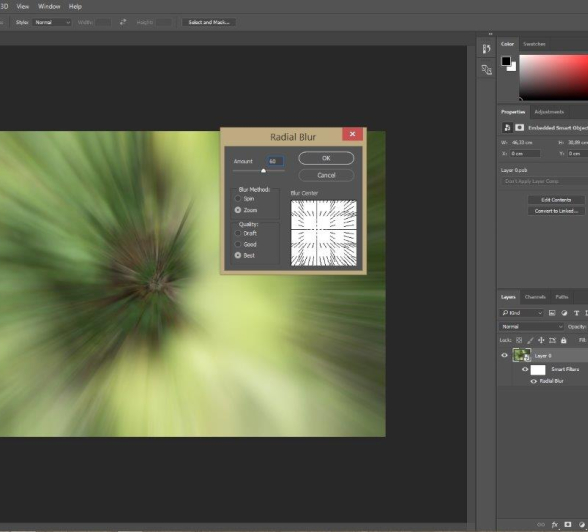
This will probably be repeated a few times until you get the origin point right on the subject of focus as well as the required amount of blur. Eventually you will end up with your final product looking something like this.
Now here we have a comparison of the two final products from the two methods.
Method 1. In Camera In-Field
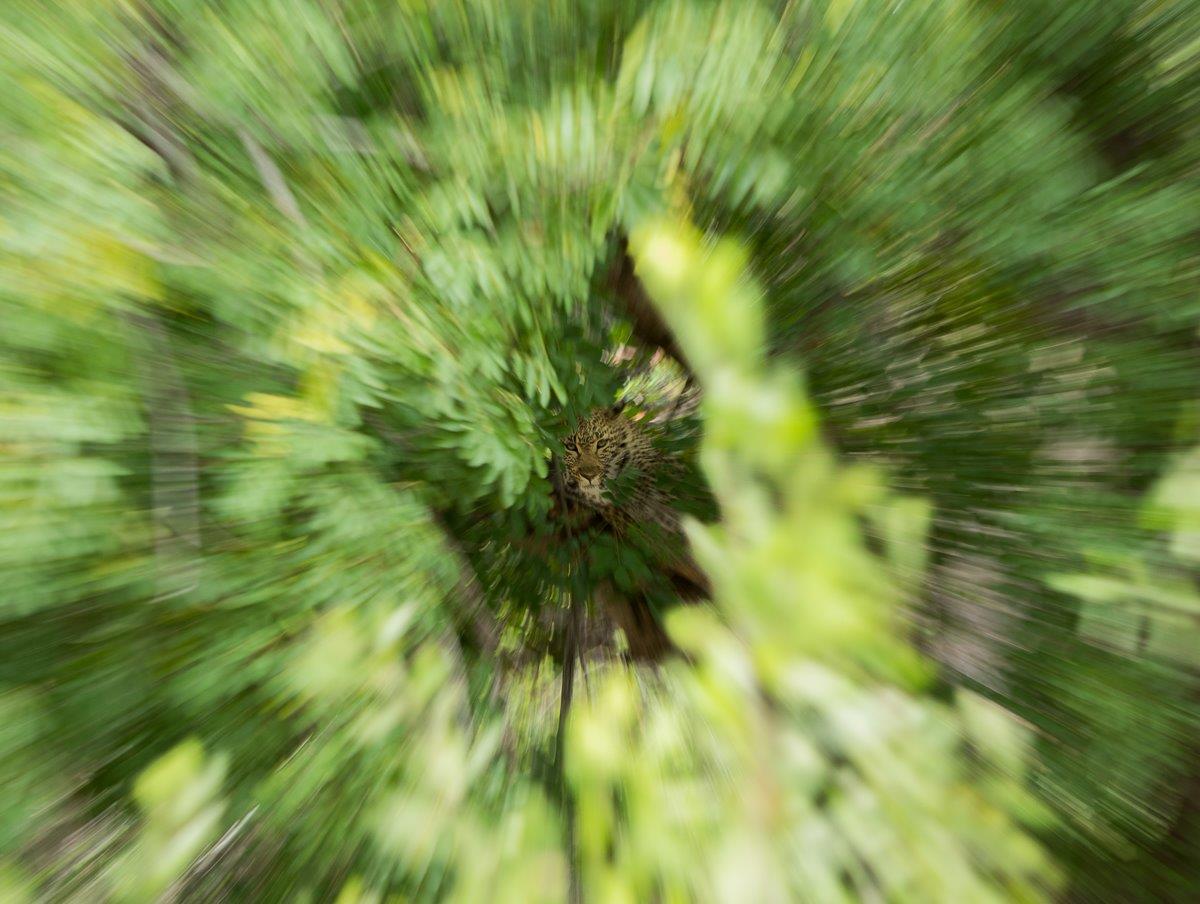
Method 2. In Photoshop
As you can see, there are slight differences with each one but they produce the same effect. If you have the patience and the time as well as the ability to “Miss the shot”, then try the “in camera in field” one. If you do not have the luxury of time and patience then take a still and pop it into Photoshop.

Don’t just look through the view finder, look around...


