Macro Photography: Example 1
on Dec 17, 2014It is summer again and the flowers are out in full bloom. It is therefore the perfect time to get the macro lens out and see what you can do. In the last macro tip I explained how you need a tripod to get the best images and in case you didn't read it, YOU NEED A TRIPOD to get the best results. The more I play with my macro lens the more I realise how much you shake. With the depth of field so small, the slightest movement will move you off your focus point.
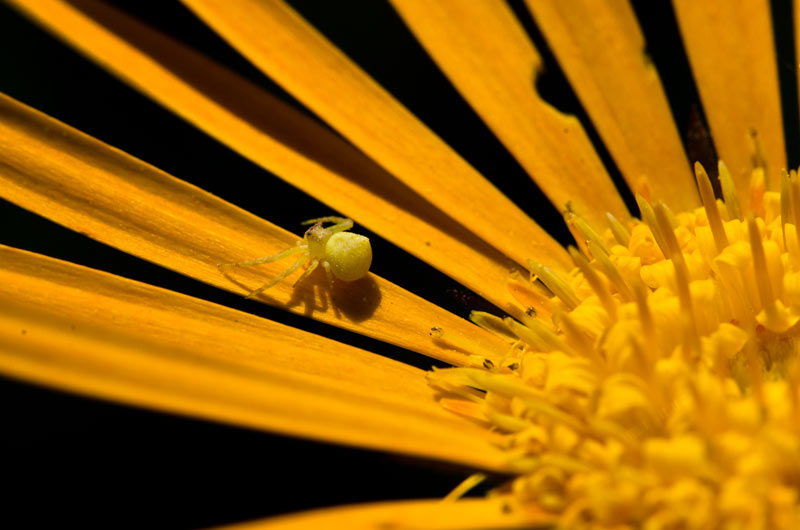
I have always wanted to capture the beauty of a Barberton Daisy and when I stopped to set up I wanted to find a flower with a bee or insect that would give a sense of scale to the photo. I was fortunate enough to find this tiny Crab Spider waiting for a bee to land so that it could catch a meal.
I set the tripod up, composed the photo and set the aperture to f13. Now this might sound like overkill but as I said, the depth of field on a macro lens is tiny so you sometimes need the smaller apertures to capture what you want. The ISO was at 250 and the shutter speed at 1/500. The photo was taken on a Nikon D7000 with a 105mm Macro lens.
Expose your balance
Richard de Gouveia
Macro Photography: Example 2
I have always been intrigued by macro photography and I have finally got myself a macro lens. I thought it would be nice to let you all know my experiences while playing with the lens and whilst it is still new I am learning daily. Here are couple of quick pointers to get you started and as I learn more I will write up more tips.
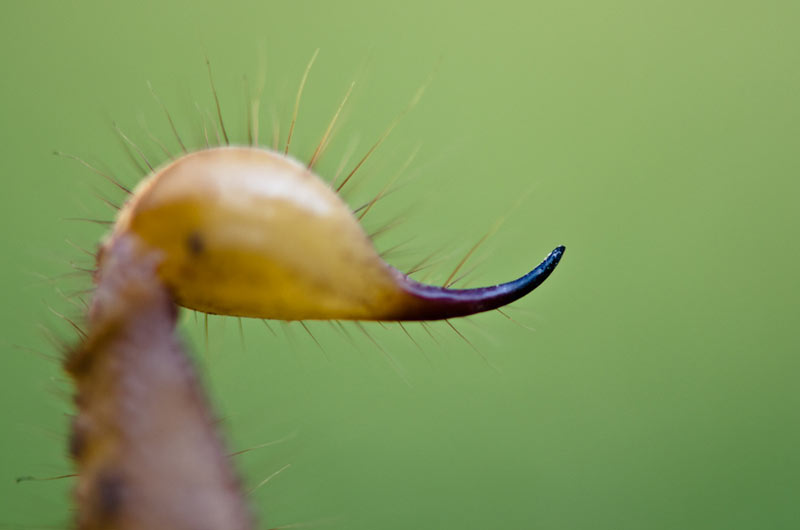
The first thing I learnt was that if you are not holding your camera completely still you are not going to get the detail you were hoping for. Make sure you have a tripod to hold your camera or at the very least, a bean bag. For the above image I used a bean bag as a tripod was too tall to use whilst photographing a scorpion moving along the ground. It was taken with a Nikon D7000 with a 105mm fixed Macro f2.8 at f4.8 with a shutter speed of 1/250 and an ISO of 250.
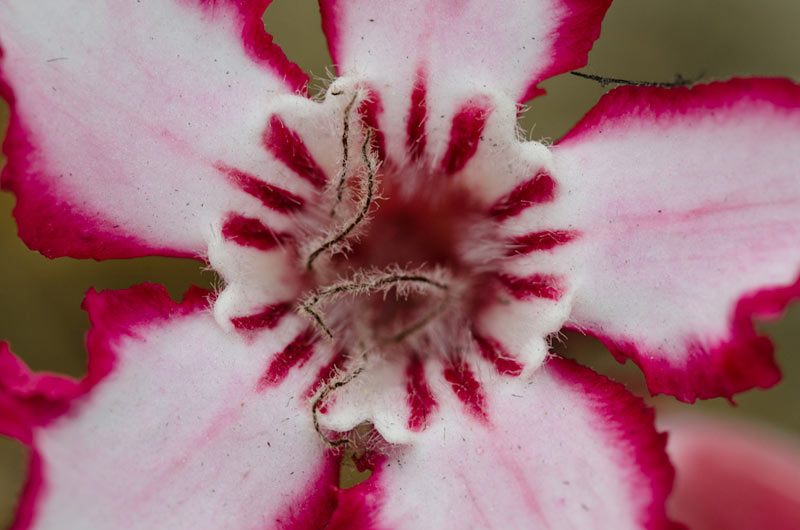
The second thing that became apparent to me was that the closer you are to the subject, the smaller the depth of field. So don't be afraid to increase your aperture if you are right on top of your subject to get the depth of field you are hoping for. Above is an example of a picture taken from close to the subject (an Impala Lily) with settings at f9 at 1/250 at an ISO of 250.
Then below is an example of the same flower photographed from further away and the settings were f9 again but a shutter speed of 1/160 and ISO 250. You can clearly see the increase in depth of field as you move further away without ever changing the aperture.

Expose your balance
Richard de Gouveia
Macro Photography: Example 3
With spring upon us here at Sabi Sabi, the insects are starting to emerge and along with insects come frogs! When it comes to macro photography, one can never run out of subject material - there is always something lurking around to take a photo of, provided one has the correct lens. I found this Foam Nest Frog calling around the lodge, so I decided to quickly take the opportunity to use my 100mm f2.8 macro lens to get a nice close up of the frog.

I set the lens to manual focus which makes it easier to focus on the subject, especially in low light. Slight movement forwards or backwards with the lens can also make the fine adjustments necessary for the focus plane. It is key to use a flash in macro photography, because one usually works with very small apertures and therefore very little light is allowed through the lens. The flash also brings out all the detail in the subject.
I set my camera to manual and my shutter speed to the flash sync speed, which is 200th of a second for my camera body (the flash sync speed will differ from camera to camera). The light from the flash freezes the image, so hand-holding the camera is ideal at these shutter speeds. To increase your depth of field and pick up as much detail as possible, a good aperture for macro is anything from f16 to f32. In this case I set it to f25, had my ISO at 1000 and set my flash to ETTL which exposed everything perfectly.
Stay focused
Darred Joubert

