Fade to Black
on Apr 11, 2017In this Photo Tip, I will go through the process of creating a low-key image in Lightroom, with a step by step guide.
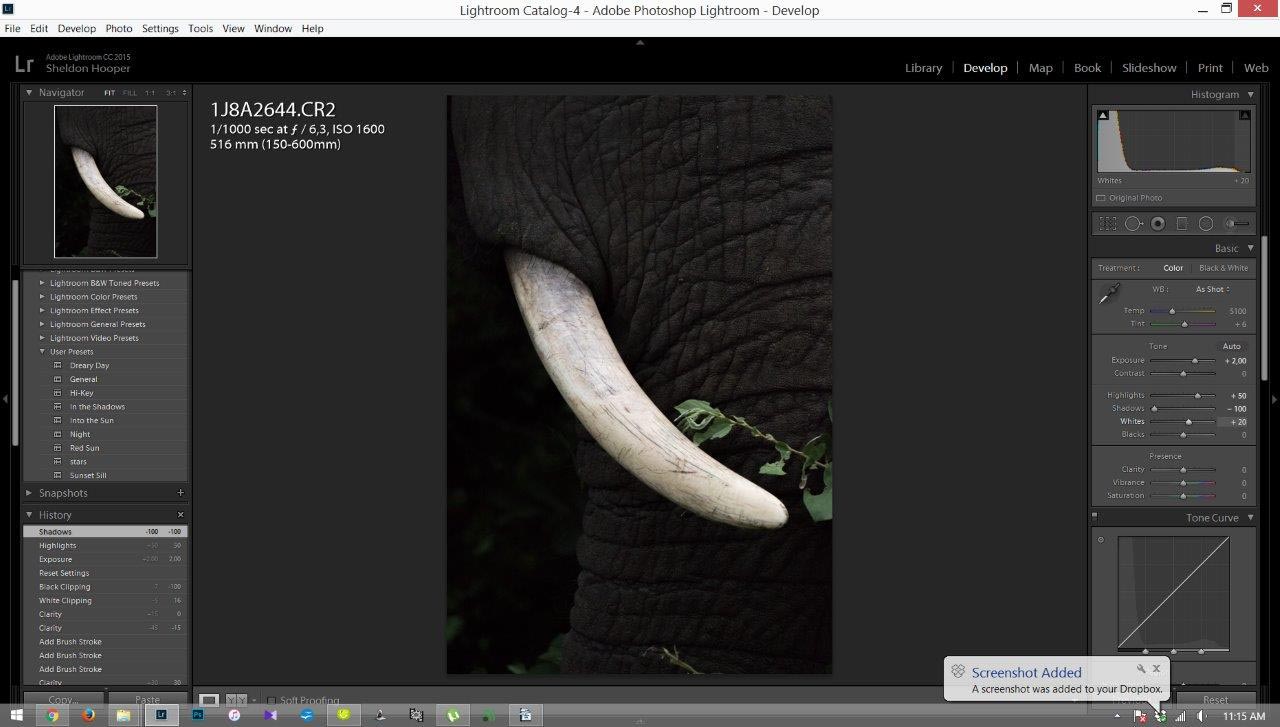
This is a relatively simple conversion process and only really needs basic manipulation to get an image to transform from this...
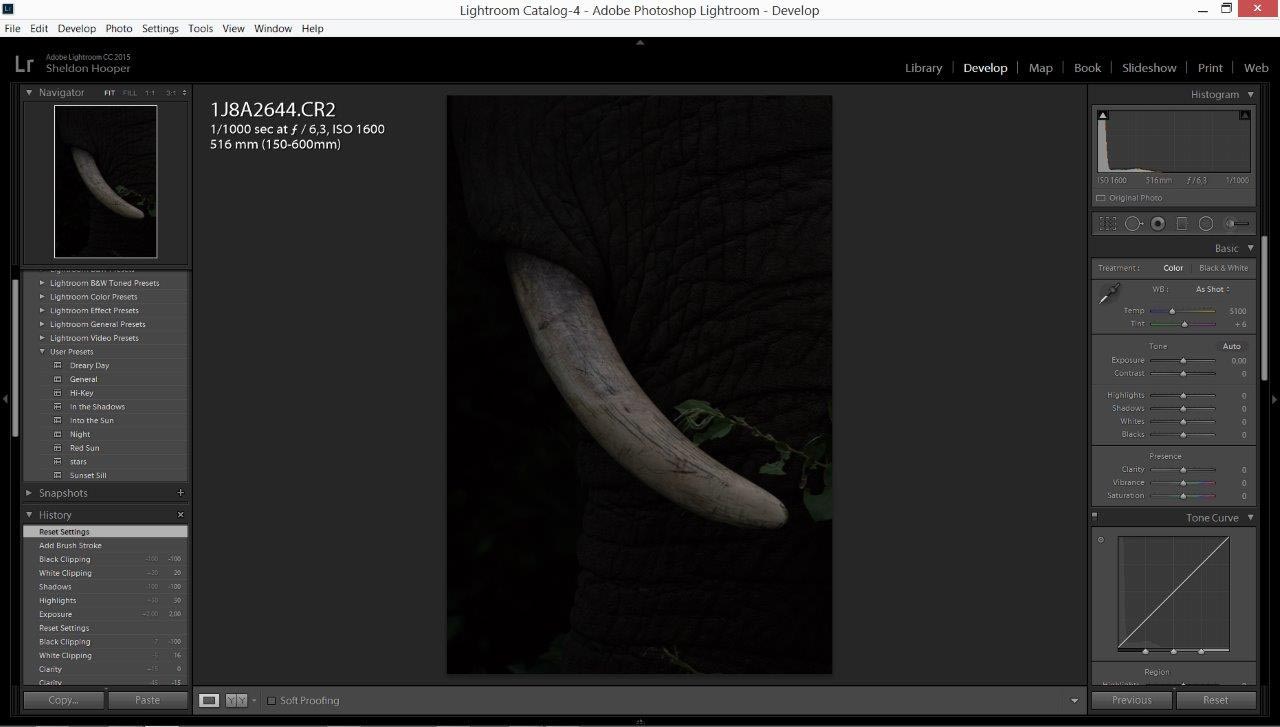
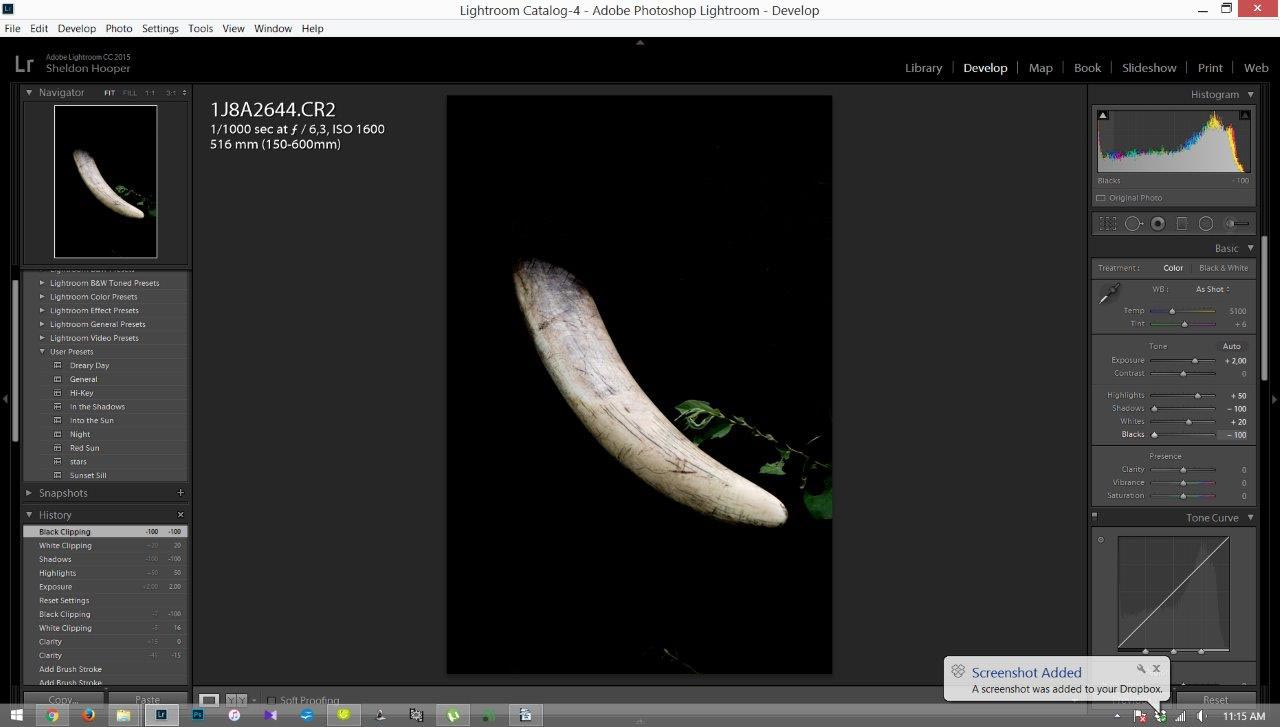
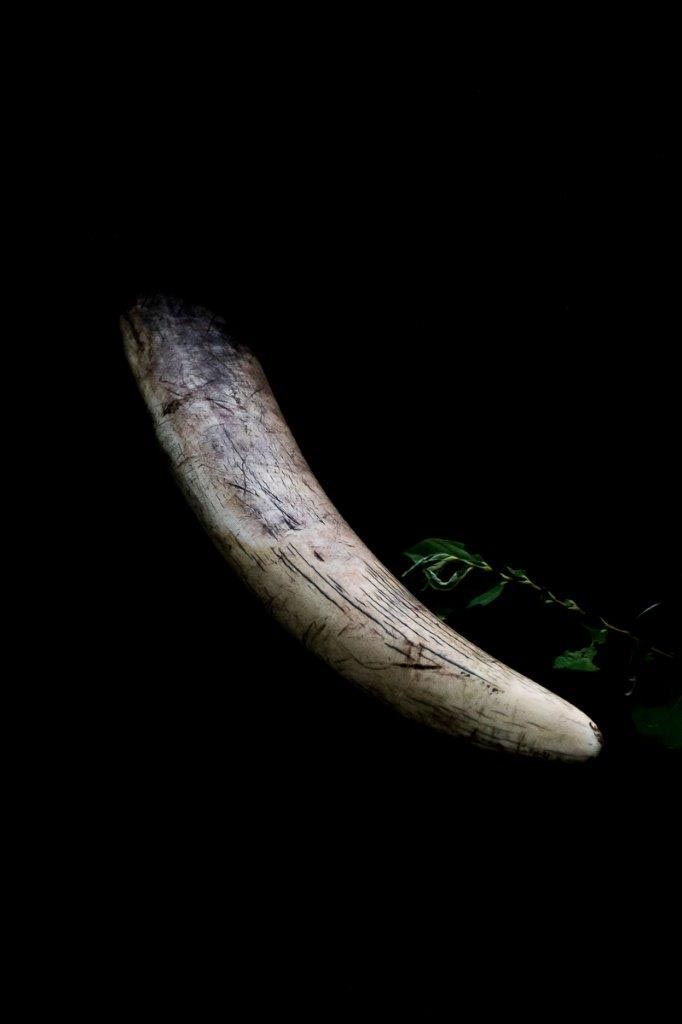
To this...
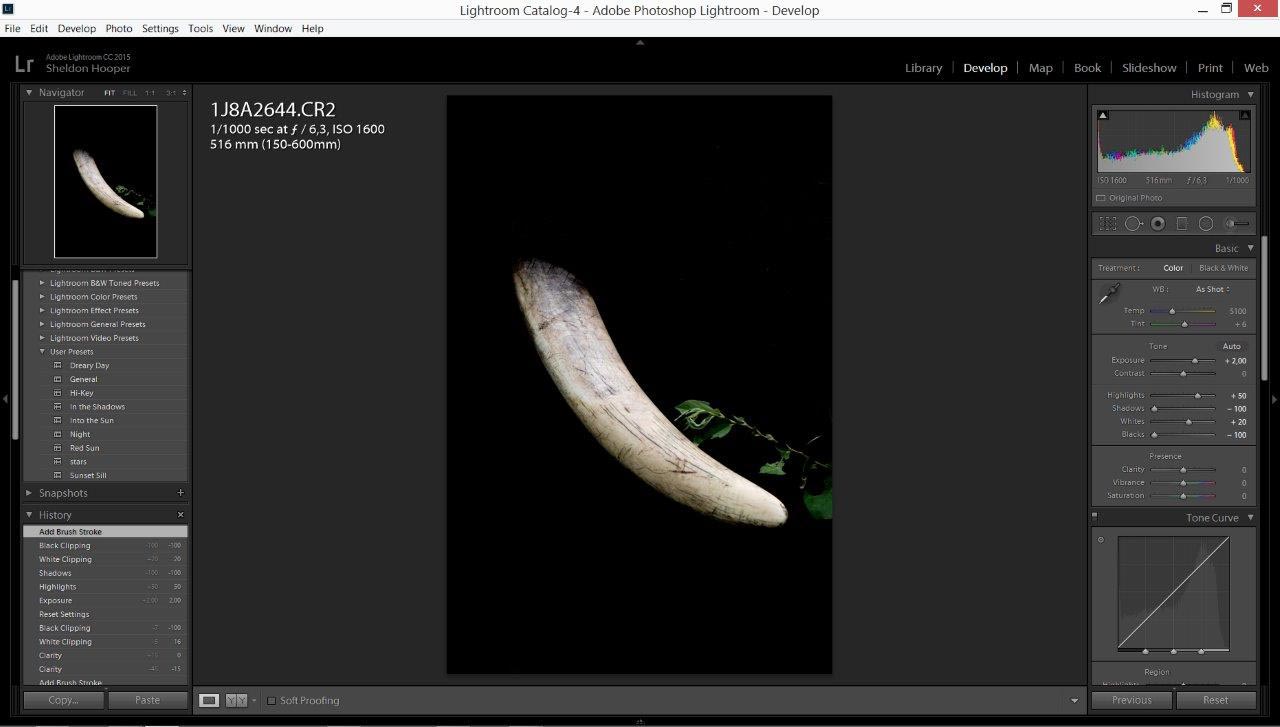
To make a low-key image, you need to have a good portion of the image in darkness as this adds to the dark feel of the picture and is the effect desired. This image was perfect as the tusk was white in the shadows and pops very nicely as a de-constructed element.
Step 1
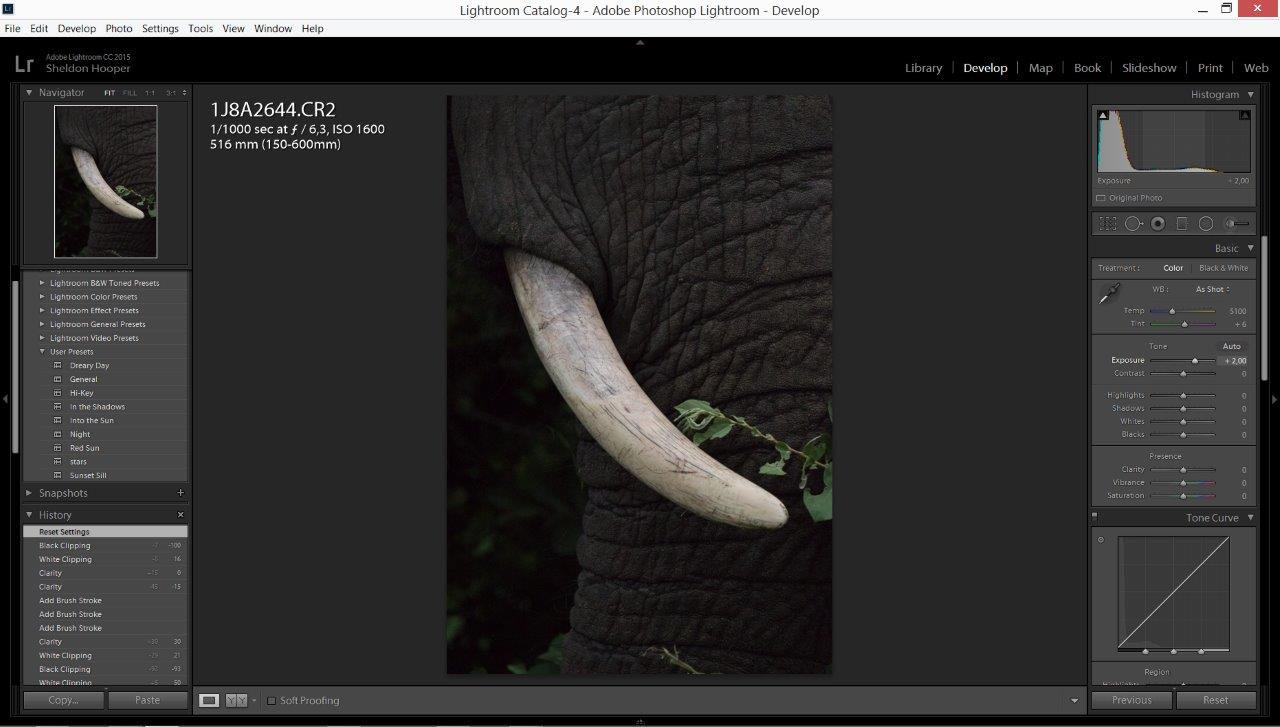
We raise the Exposure of the image to +2.0. If this had been done in camera the black background would not become solid as we want it in the final image.
Step 2
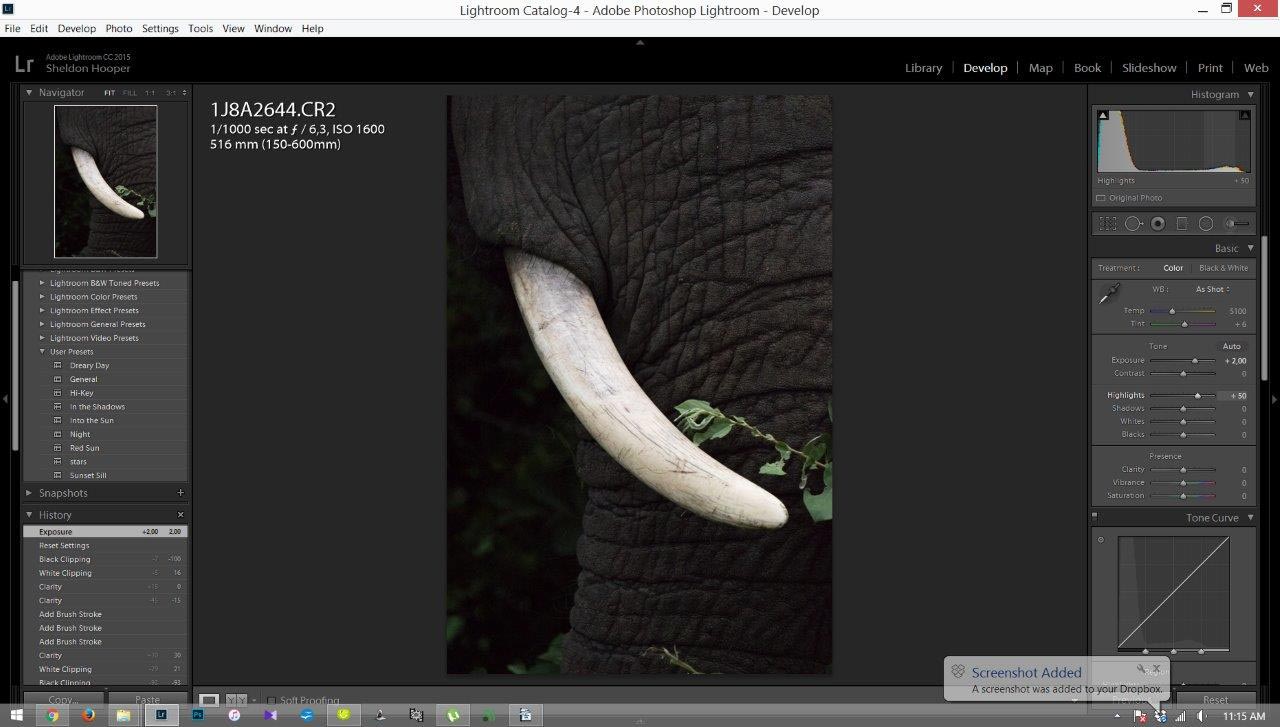
Raise the Highlights of the image to around +50 (image dependant); this will target the lightest areas of the image - being the tusk and the leaves closest to it - and make them lighter.
Step 3
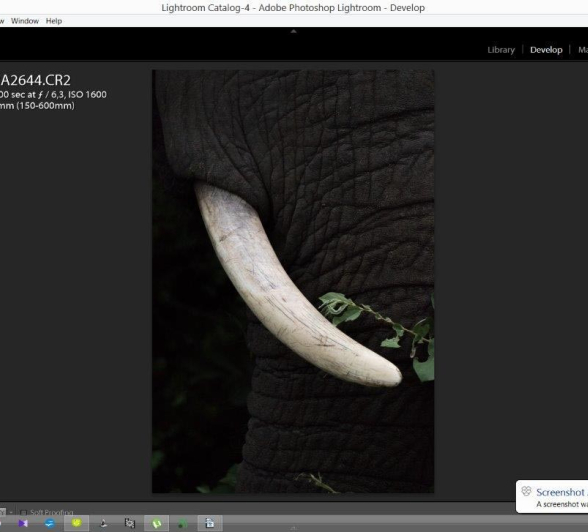
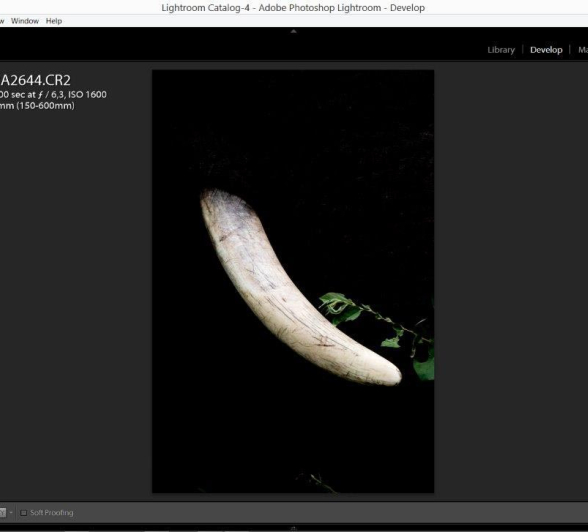
Drop the Shadows to -100; this will darken the image where the shadows are. If this is not done then the shadow areas will show up in the final image as seen below.
Step 4
Increase Whites to +20 (image dependant); this will bring even more contrast than if the highlights had been lifted as this takes only the white sections and brings them out more against the black background.
Step 7
Drop Blacks to -100 and you will begin to see your final image taking shape; this is where the contrast comes in and it only targets the dark areas of your image. If you have composed the image properly, then this is where you will see the contrast come to life.
Step 8
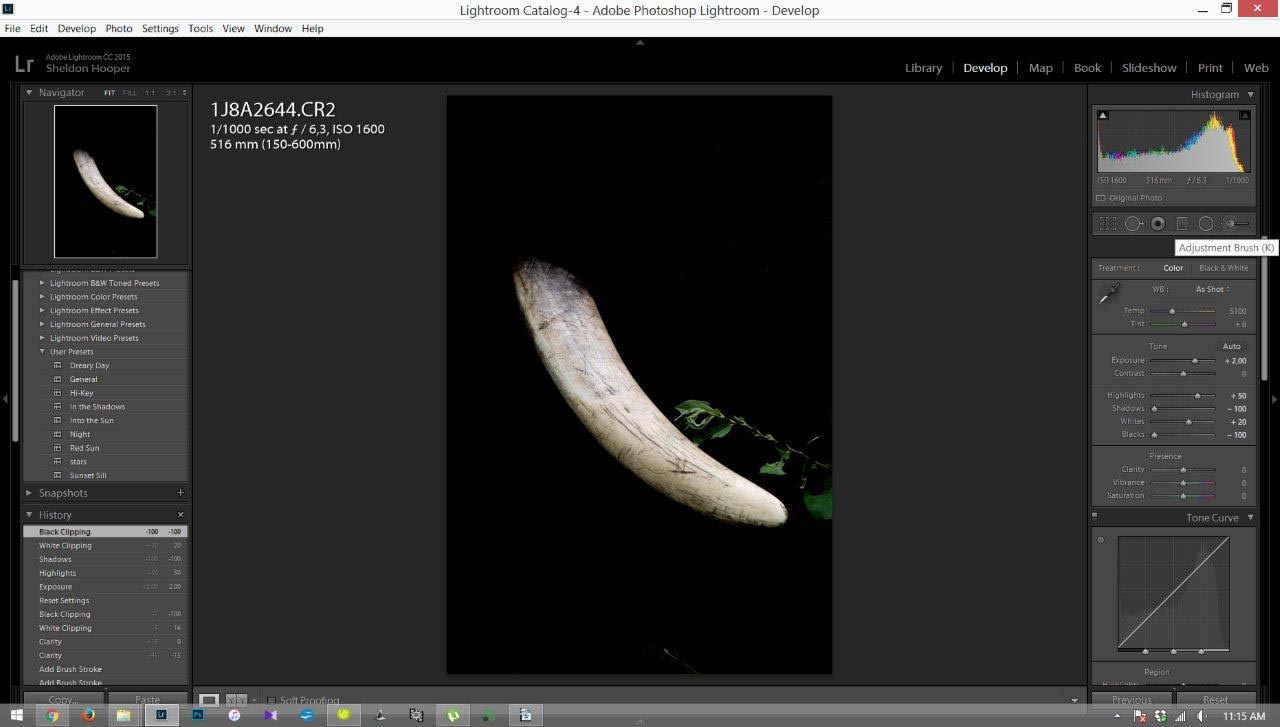
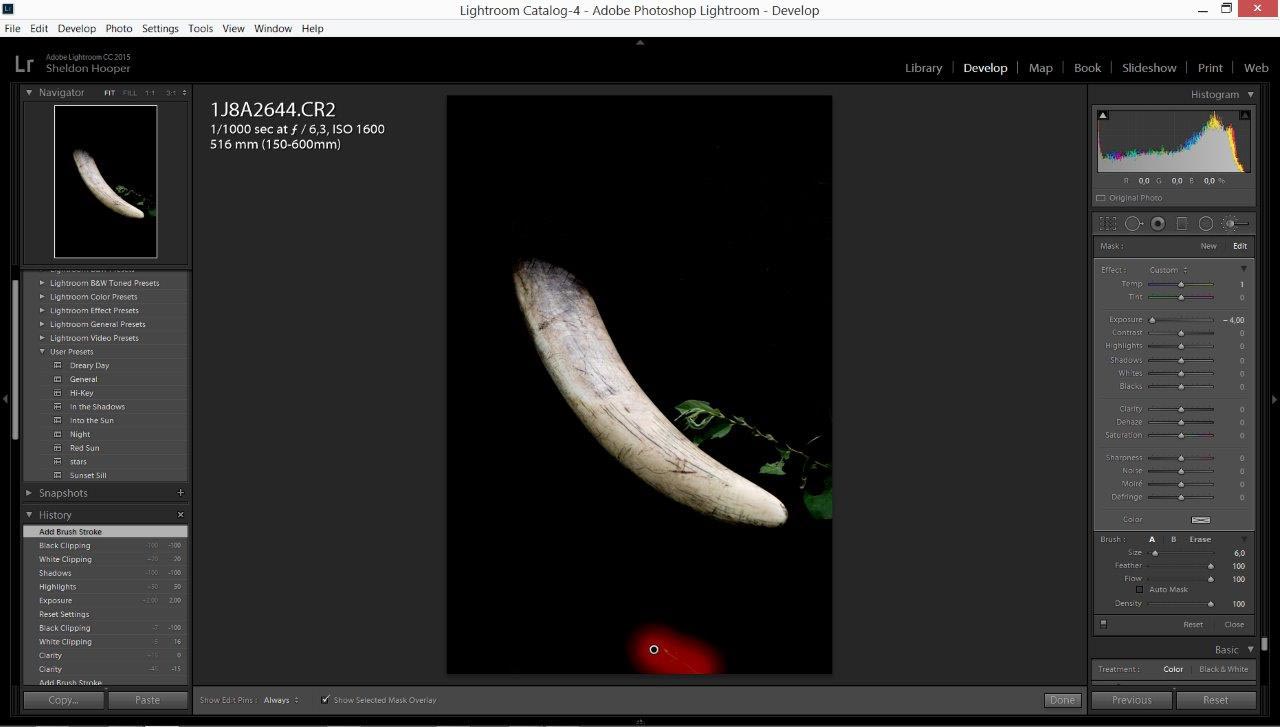
Clean up any parts of the image that are not pure black by making use of the adjustment brush tool.
In this image, there is a bright piece of twig/leaf at the base of the image. Paint over this distracting element and drop the exposure value to the point where the element disappears into the black background. This ensures the focus is on the subject that is lit up and not drawn away by extraneous objects.
Step 9
Raise the contrast of the image as well as the clarity to your liking and voilà! You have a low-key image where the subject pops in a black background
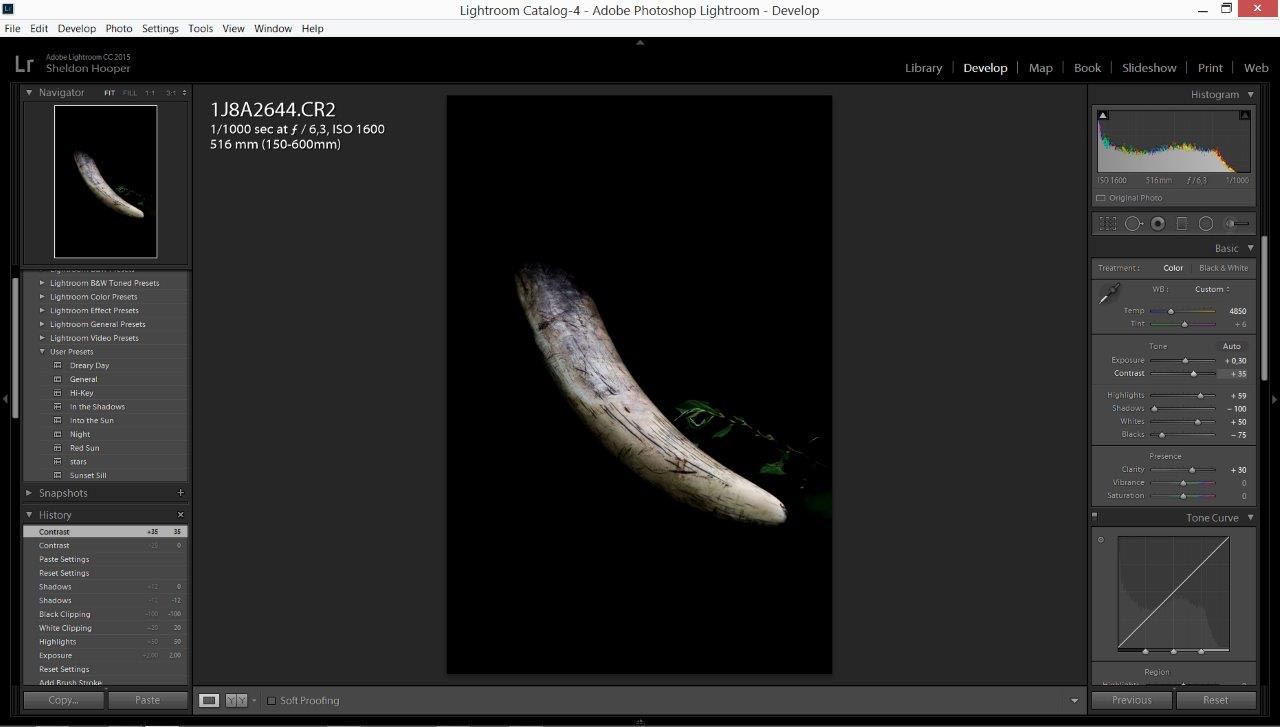
Once you have cleaned the periphery of the image to your liking you can now export it and you have your final low-key image.
Don’t just look through the view finder, look around...

